Halloween Wizard Ornament
What you need:
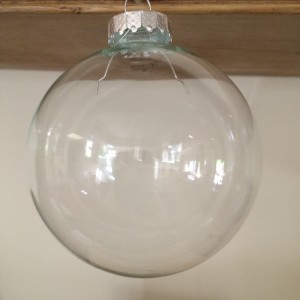
|
|
|
How to do it:
|
|
|
|
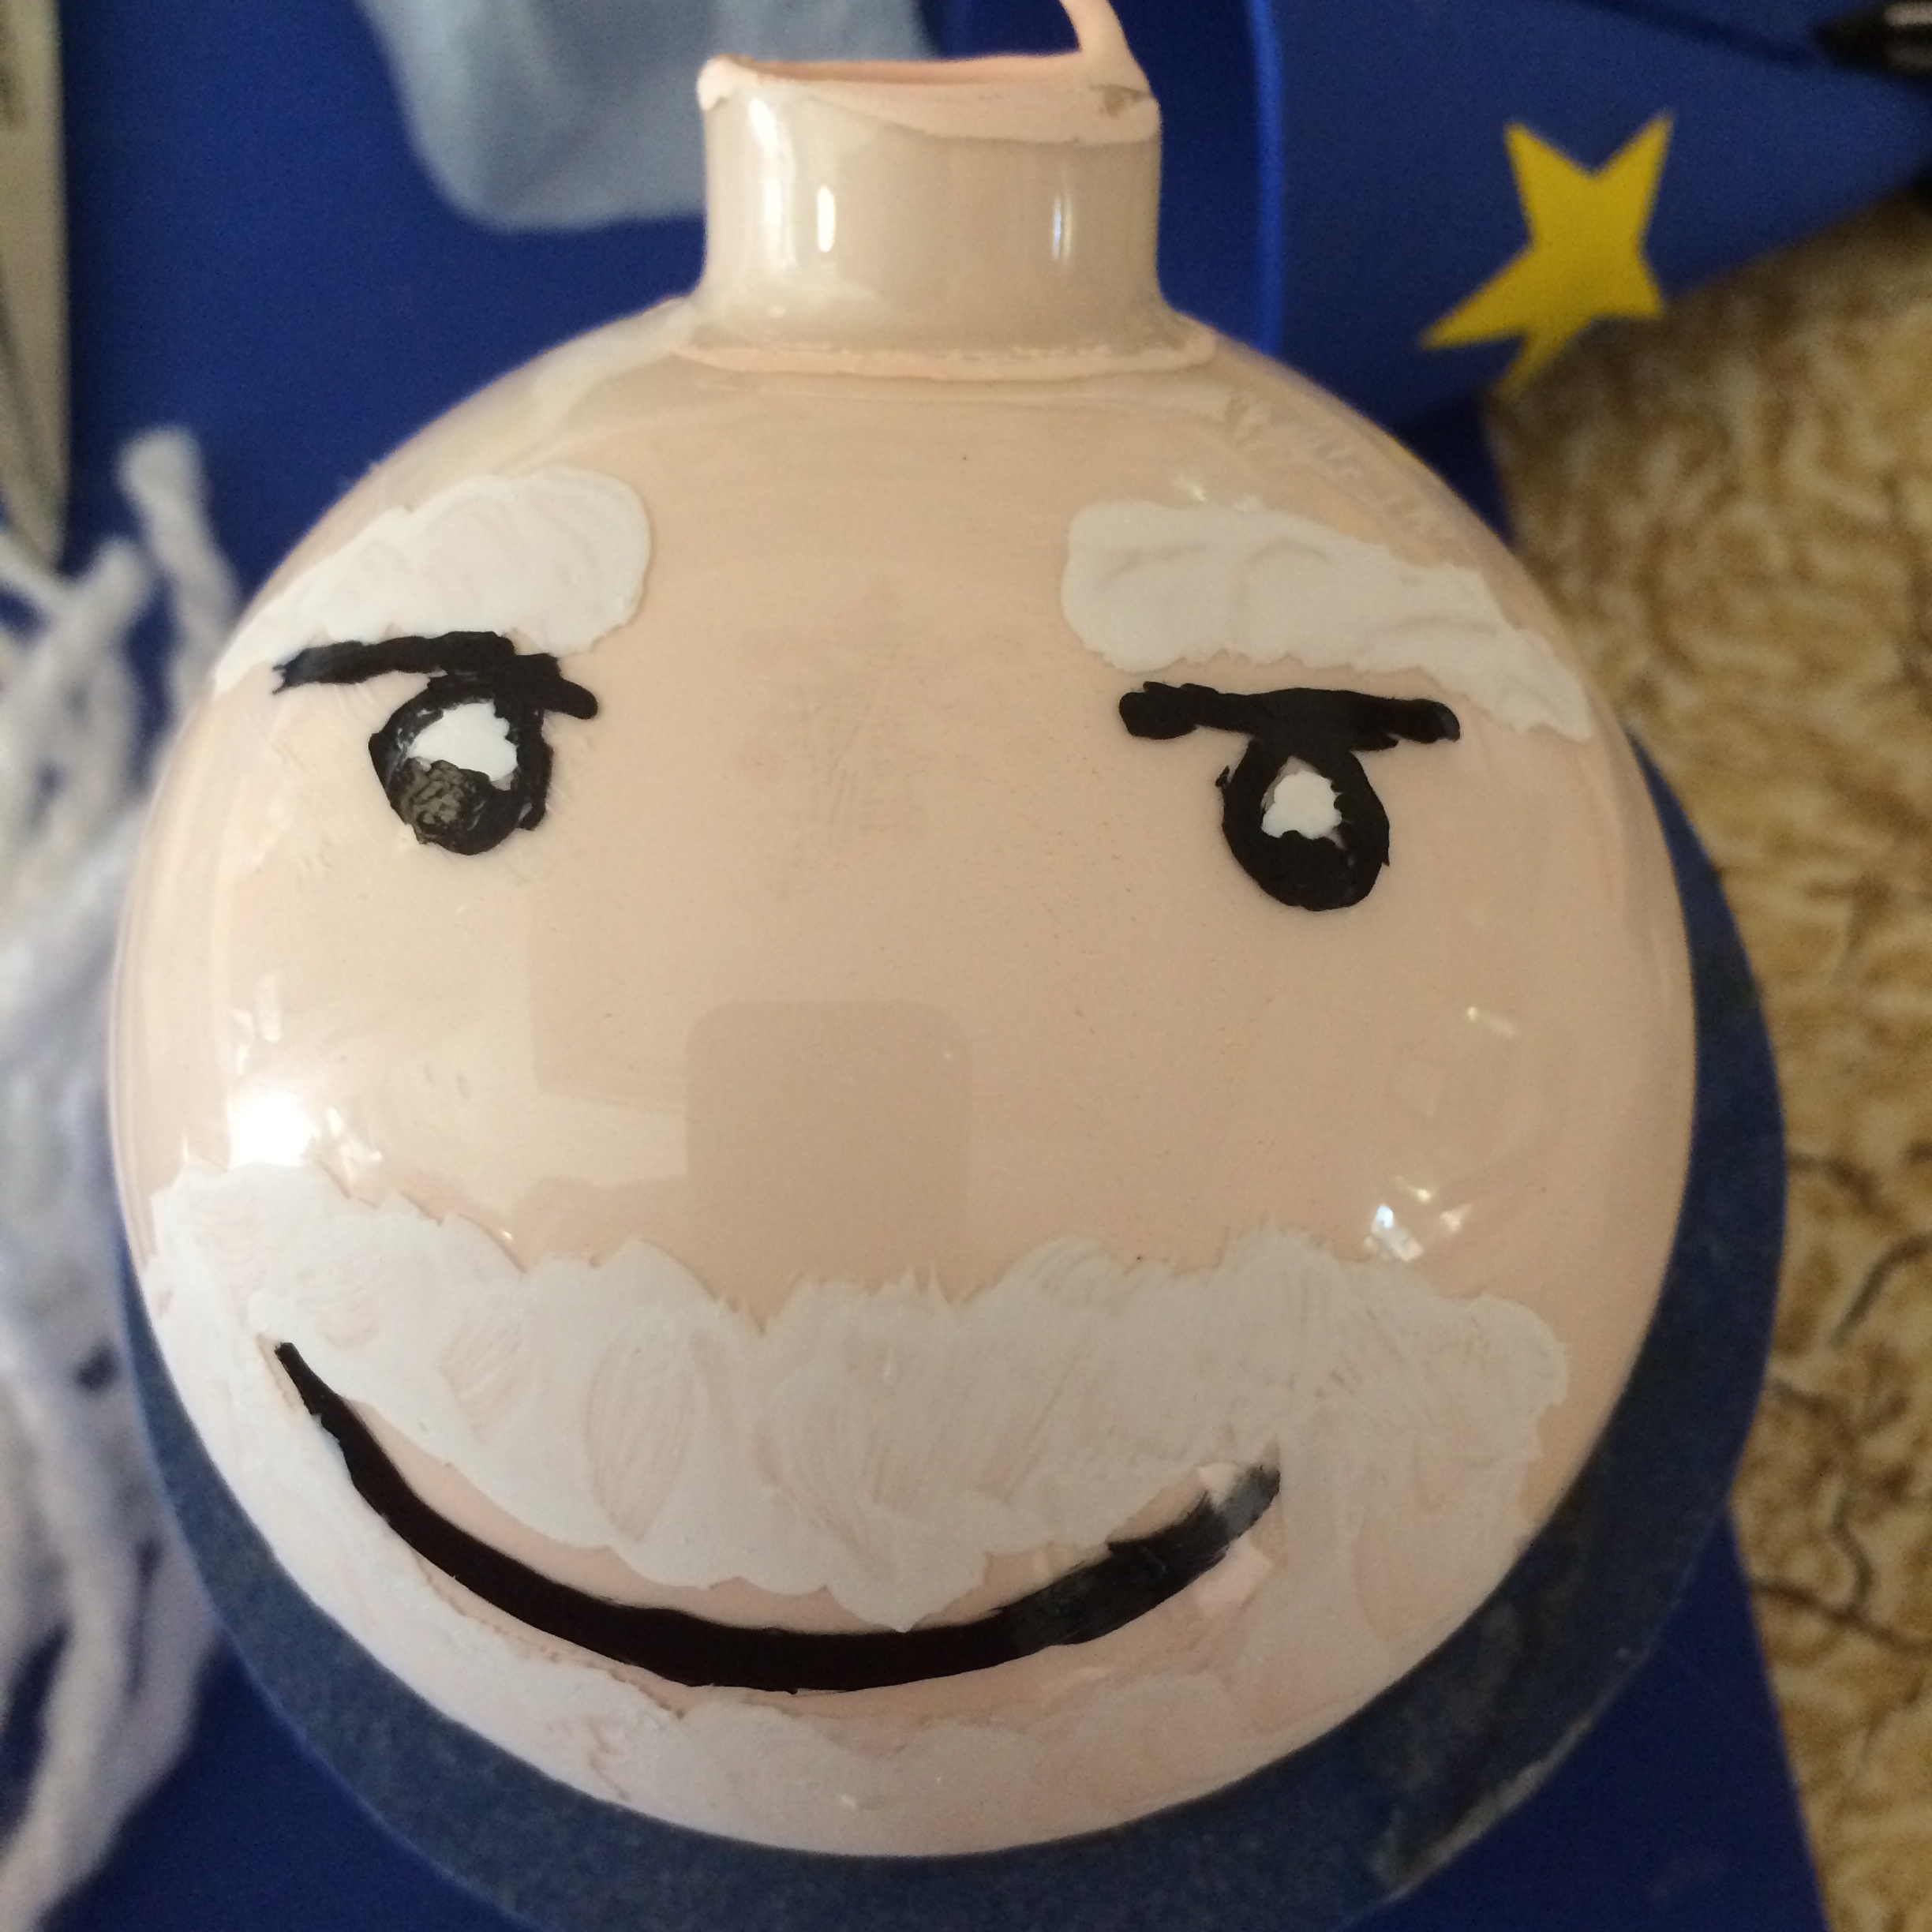 |
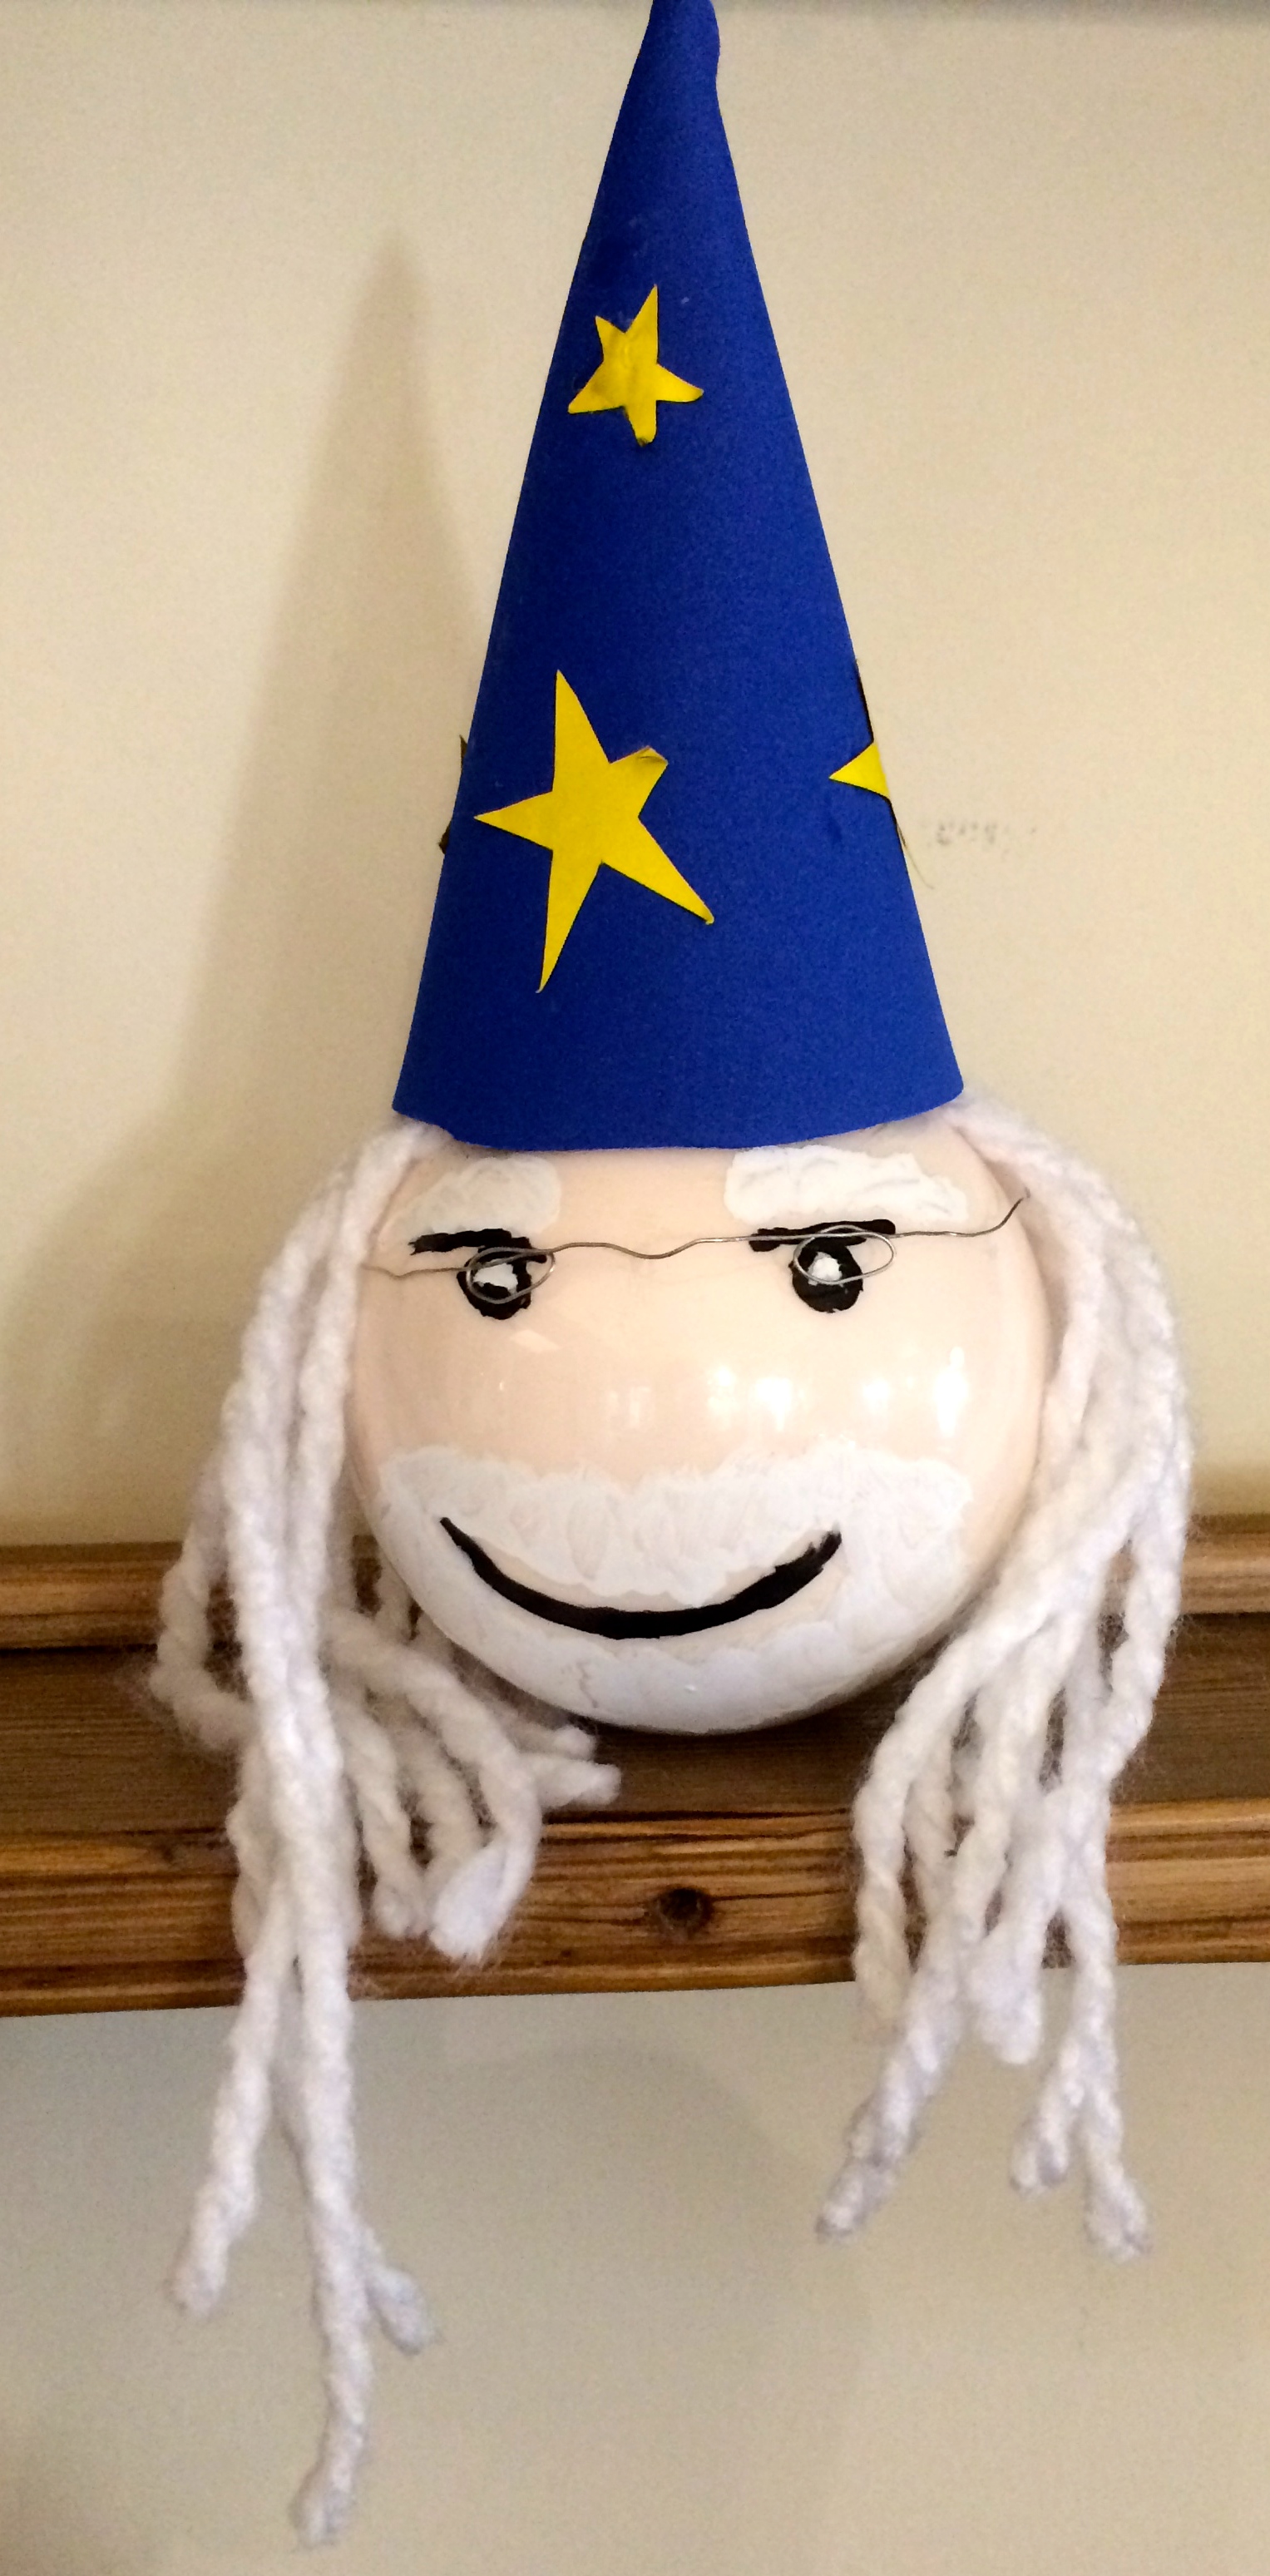 Wizard ornament with blue hat! |
Congratulations – You’re done!! |
But wait – there’s more.
Tomorrow we’ll make a black cat from a paper plate! Cool!!
Halloween Wizard Ornament
What you need:
|
|
|
How to do it:
|
|
|
|
|
|
Wizard ornament with blue hat! |
Congratulations – You’re done!! |
But wait – there’s more.
Tomorrow we’ll make a black cat from a paper plate! Cool!!
Make crashed witch in school
Begin to make your witch!

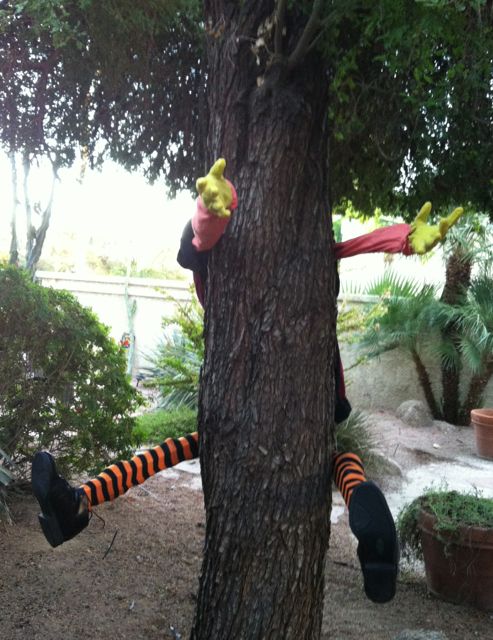
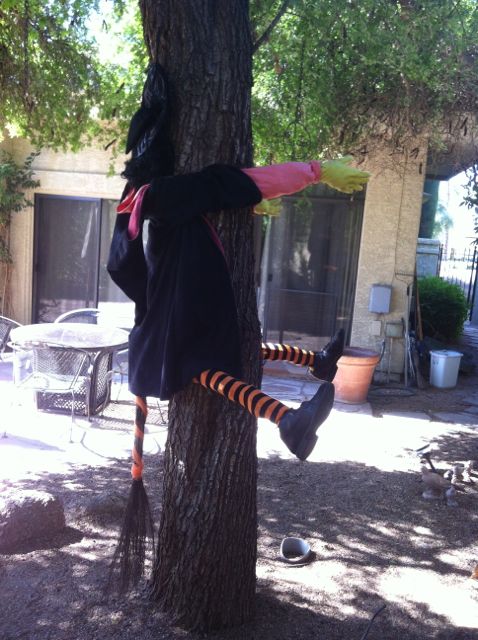
And there you have it – a crashed witch.
Viewed from either the back or front, it’s very funny.
Tomorrow – a wonderful wizard ornament!
Glass Spider Web Plate
What you need:
This hack is simple and fun.
What you do:

Glass Spider Web Plate
Witch’s Legs Book Mark
What you need for a pair of witch’s legs book marks.
Directions:

Witch’s Legs Book Mark – shoe and leg
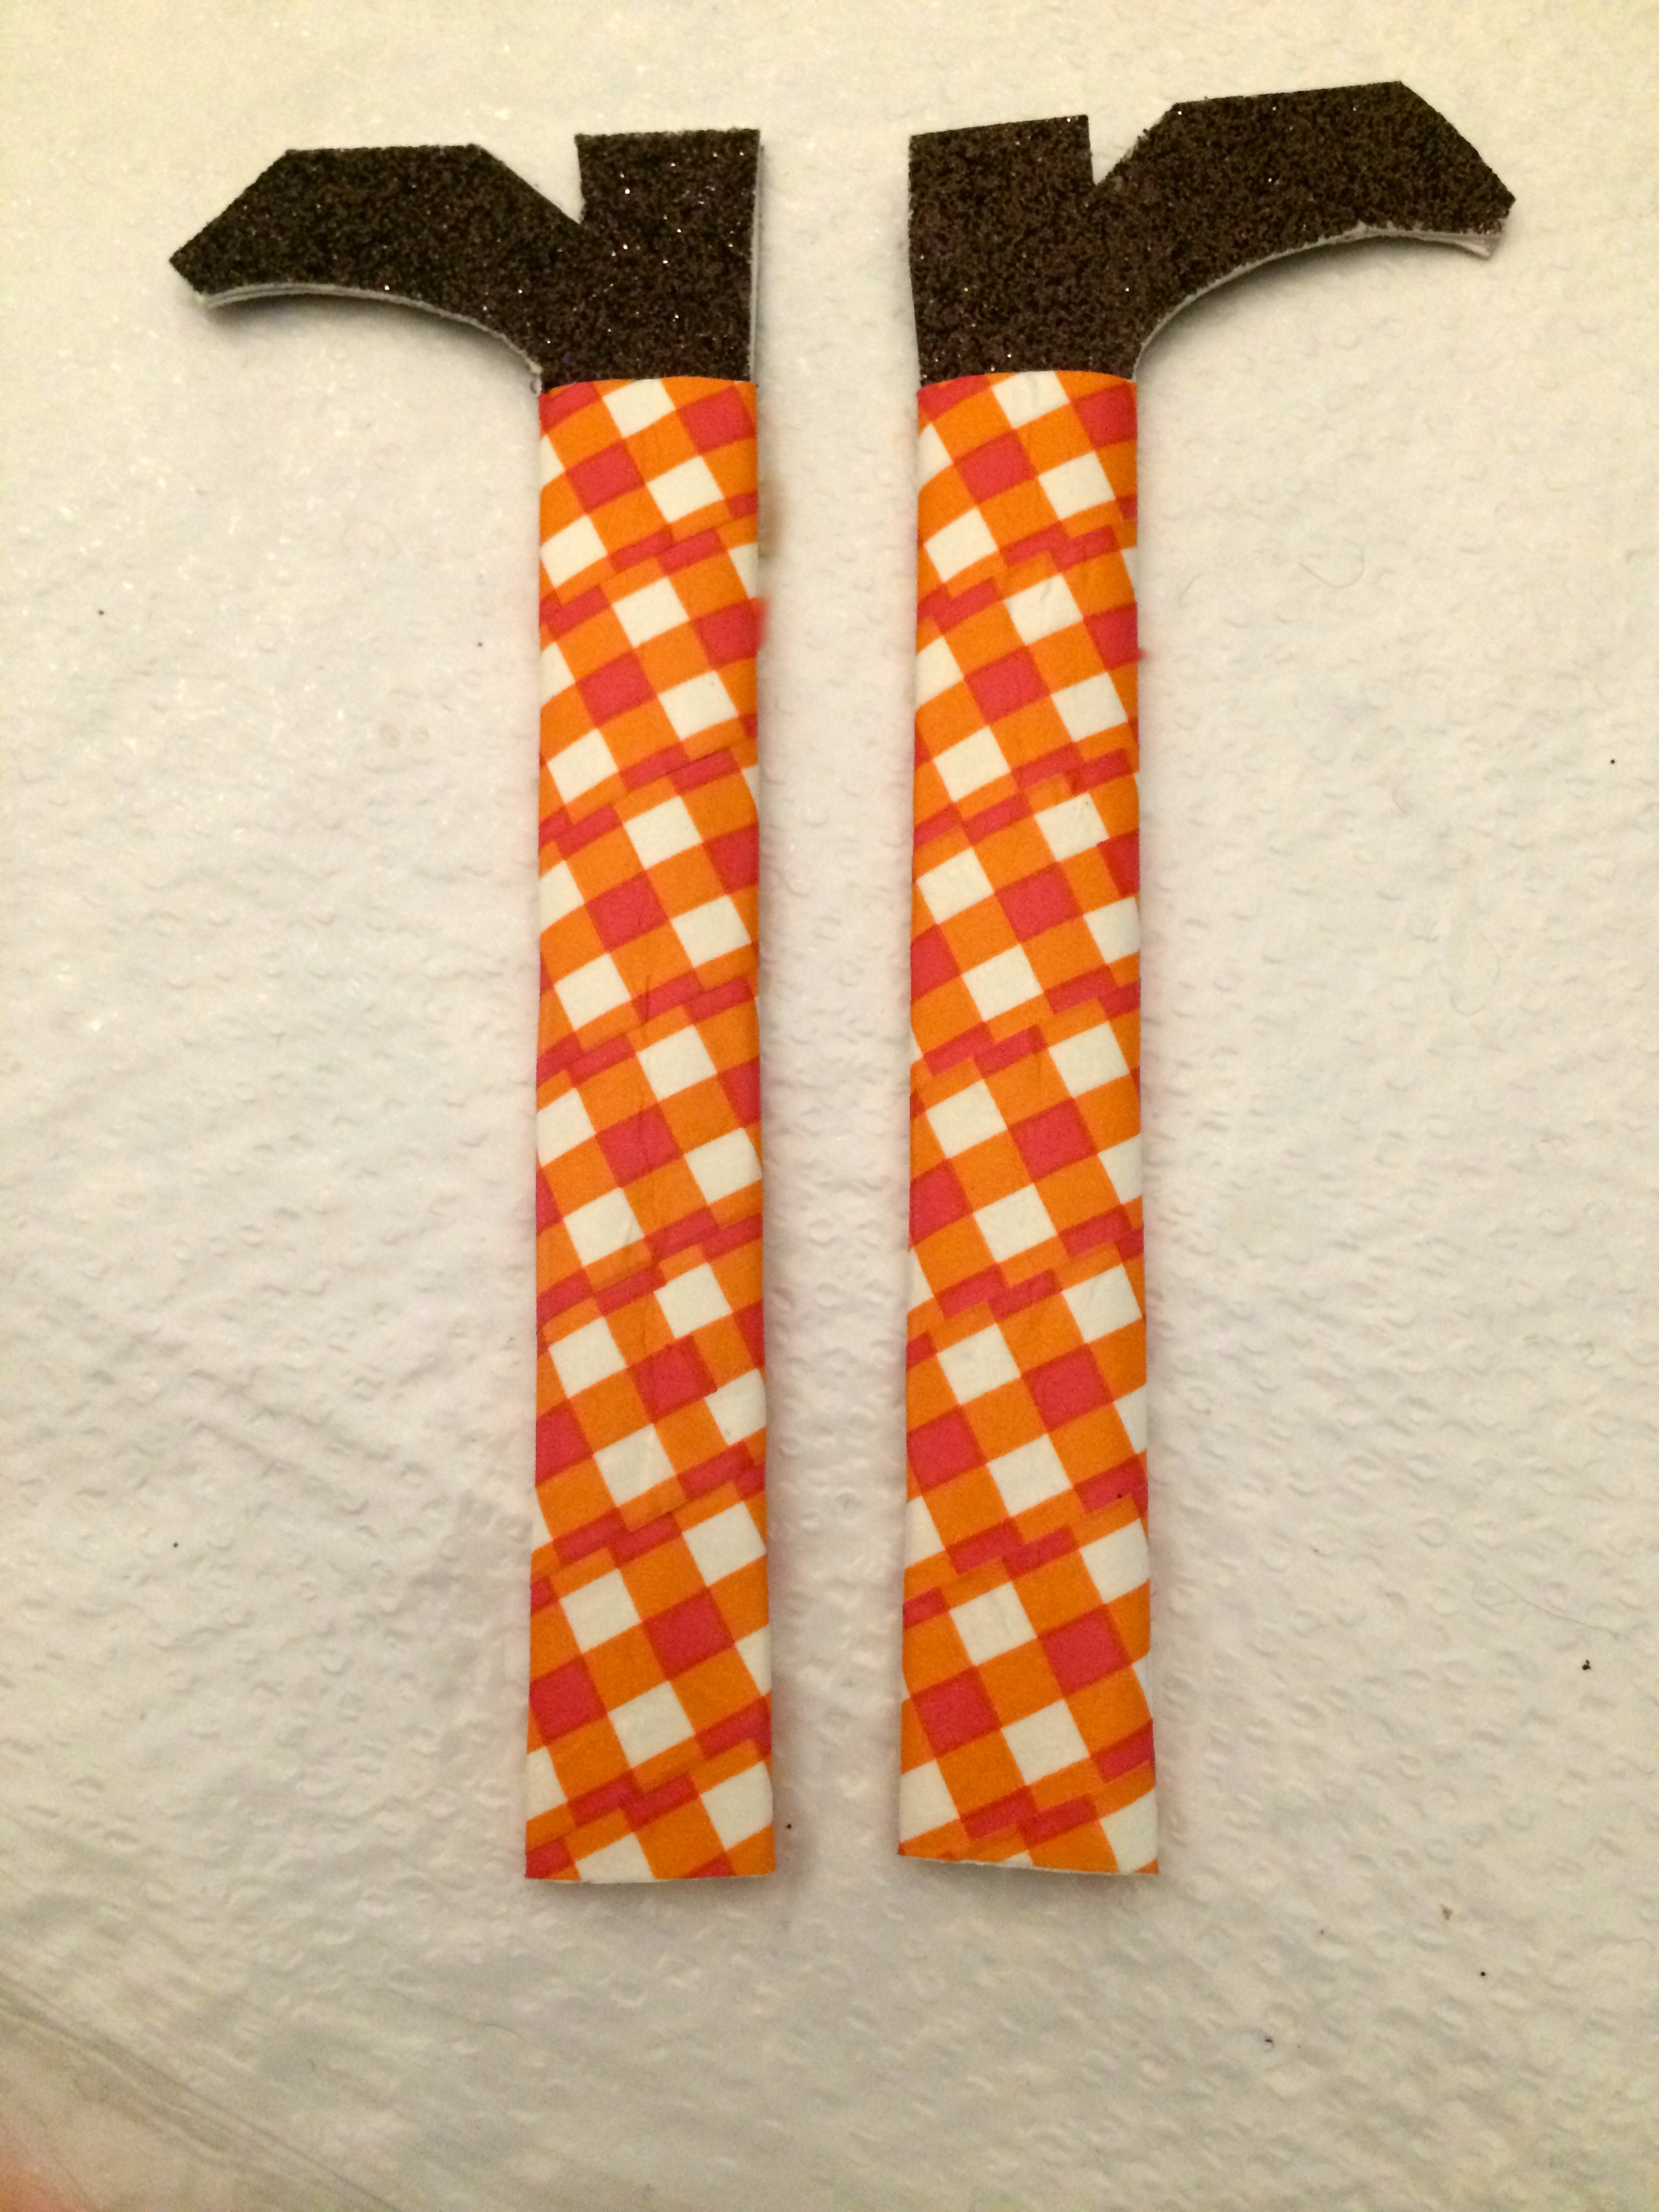
Witch’s Legs Book Mark

Witch’s Legs Book Mark!
Tomorrow – a spider web plate
One- Eyed Eggs
What you need:
Directions:

One-Eyed Eggs – easy for all the family to make

One-Eyed Eggs – look great in a circle!
Tomorrow – it’s legs all the way!
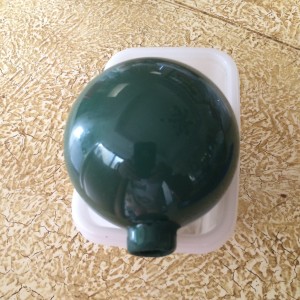
Halloween Witch Ornament
What you need:
|
|
How to do it:
|
|
|
|
 |
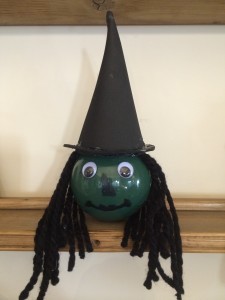 |
Confatulations – You’re done!! |
But wait – there’s more.
In the same family we’re going to make a Wizard and a Bat! Stay tuned!!!
Tomorrow – Chocolate Spider Balls.
Chocolate Spider Balls
What you need:
For the Cheese cake:
For the Chocolate coating:
Garnish:
Serving size: 24 spiders.
Directions:
* NOTE: Do not over bake! Otherwise a tough film of cheese will form on the surface. It wouldn’t be pleasant to eat or make into cake balls.
Decorating the cake balls:
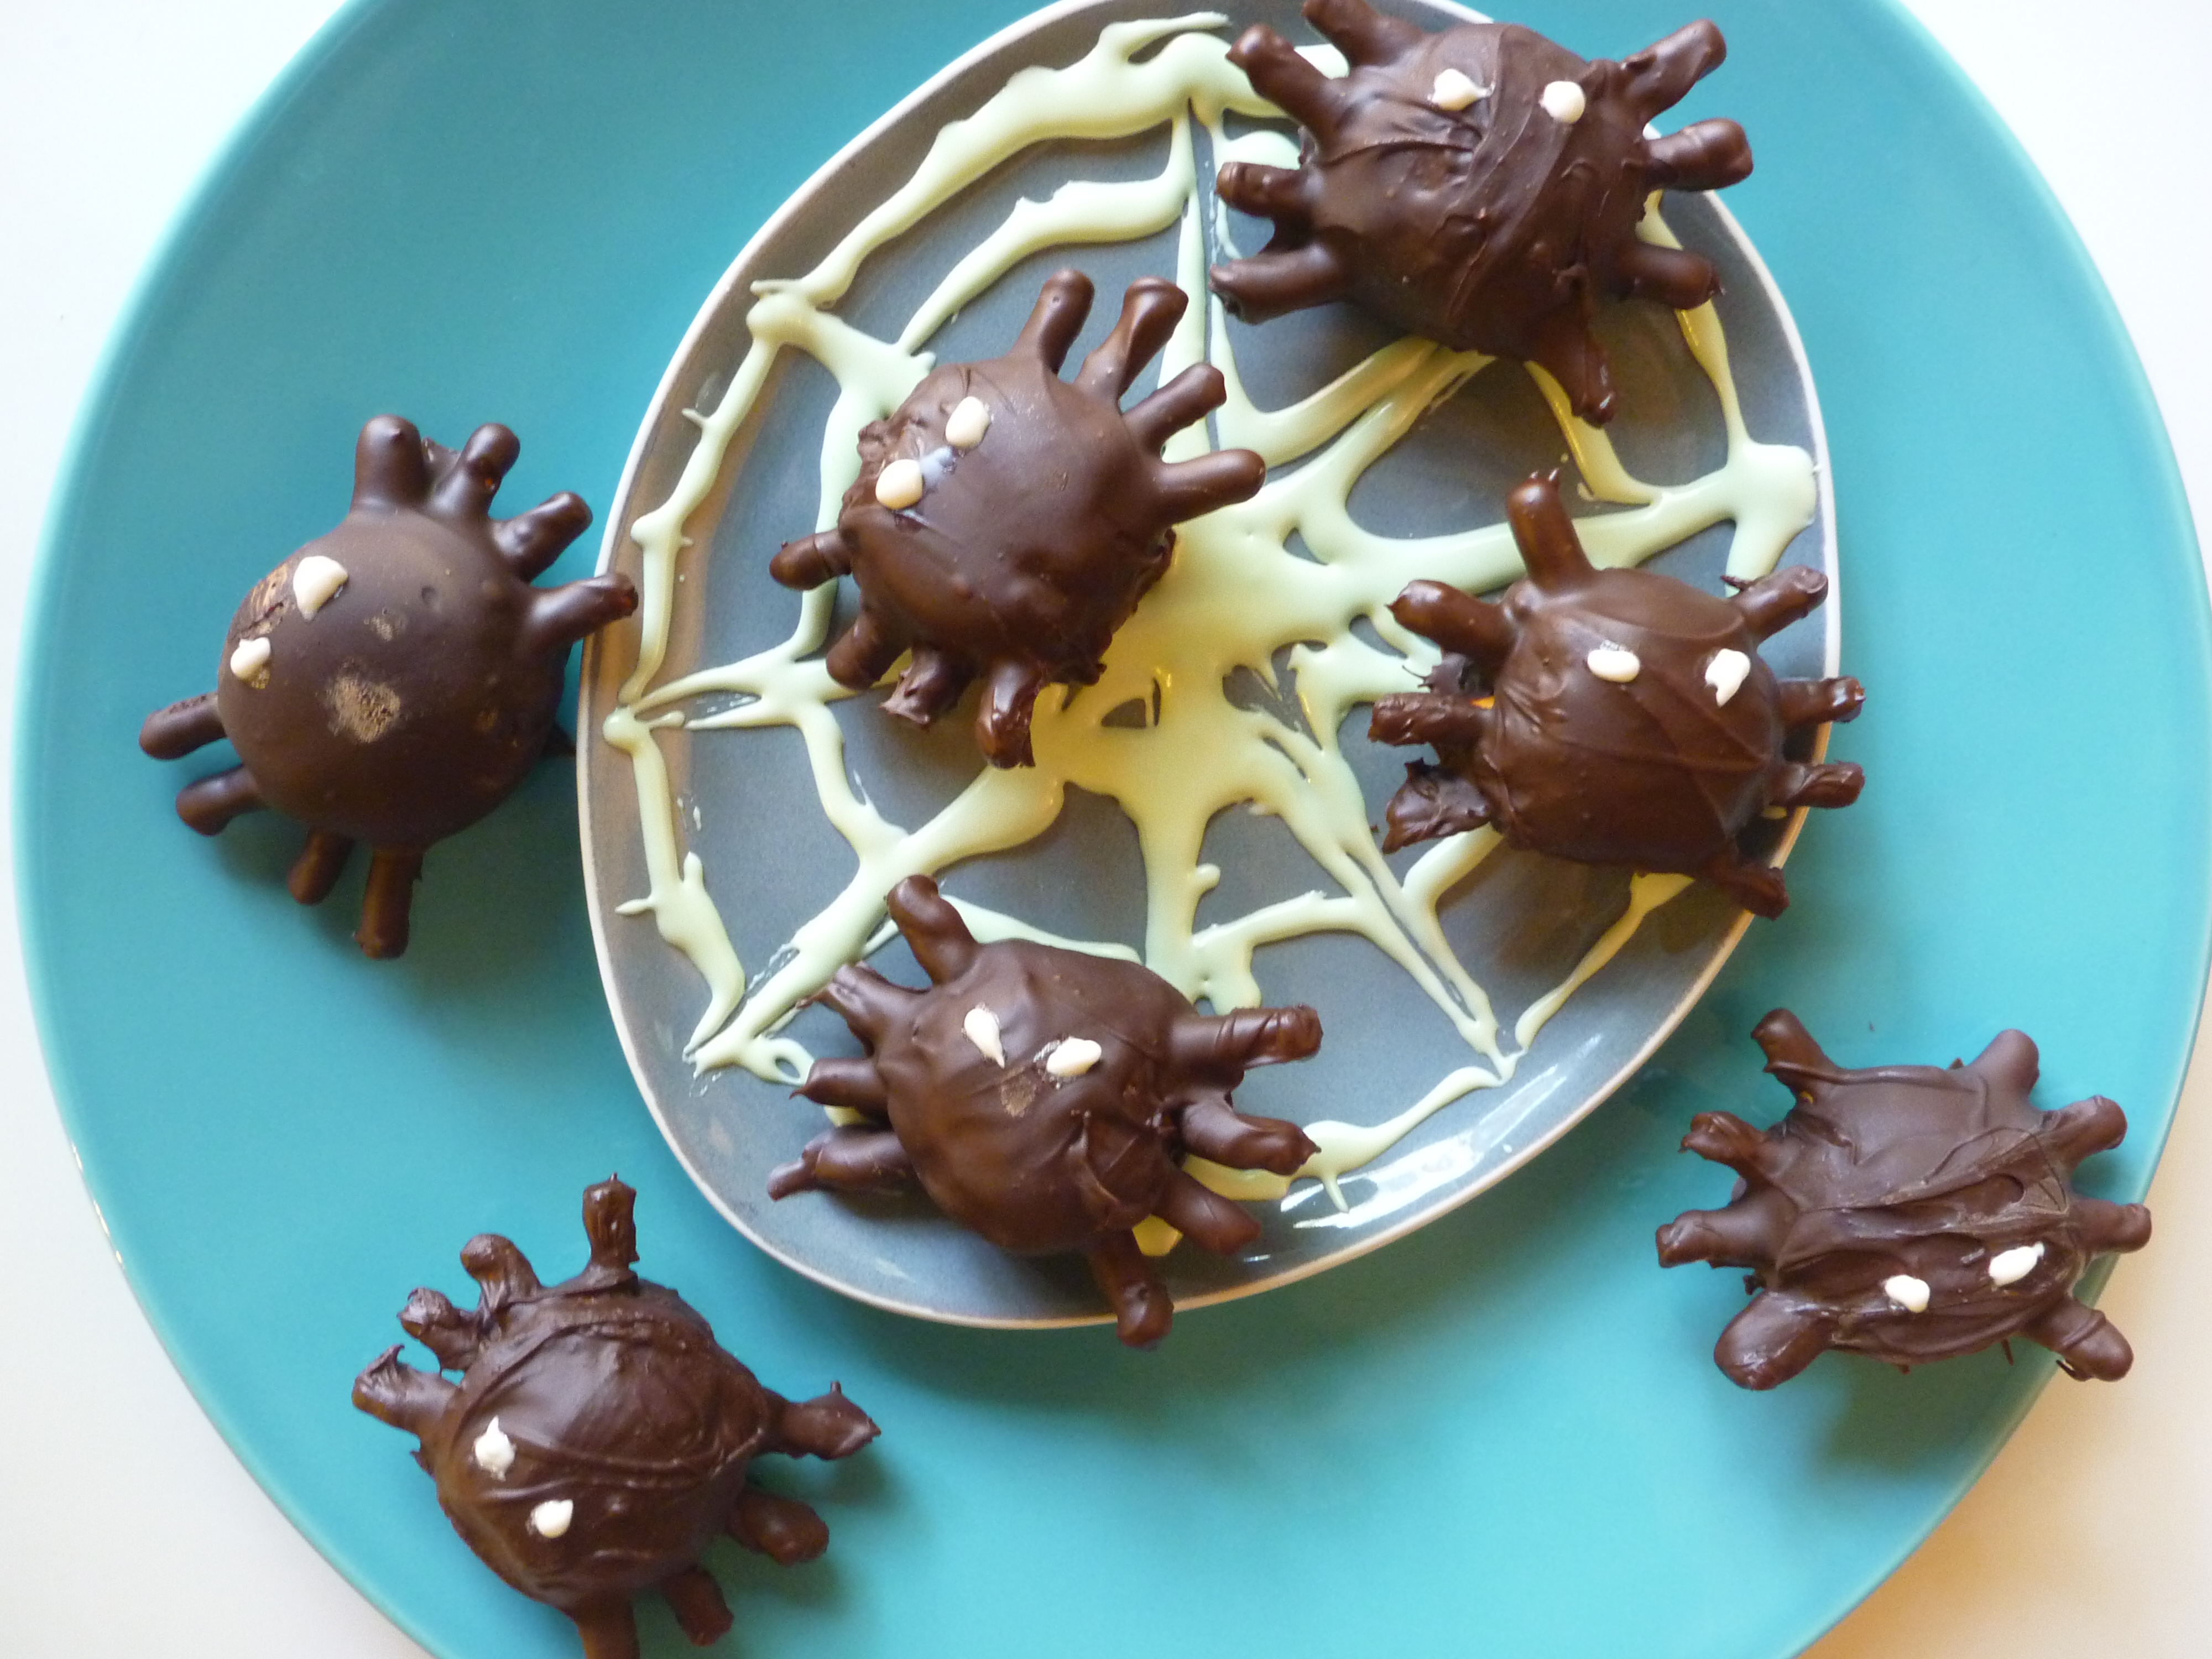
Another fun recipe tomorrow – one-eyed eggs!
Download Heckerty’s Coloring Pages!
Do you like to color in? Most kids do. And that includes kids of all ages.
Don’t tell anyone but some big kids like to color in too!
We have lovely coloring pages to download and color in. The images come from all the Heckerty stories:
Those stories are: Meet Heckerty, Heckerty Cook, Zanzibar’s Birthday and Heckerty’s Valentine.
We hope you enjoy the pictures and that you color them in with lots of bright colors!
To download – click on an image!
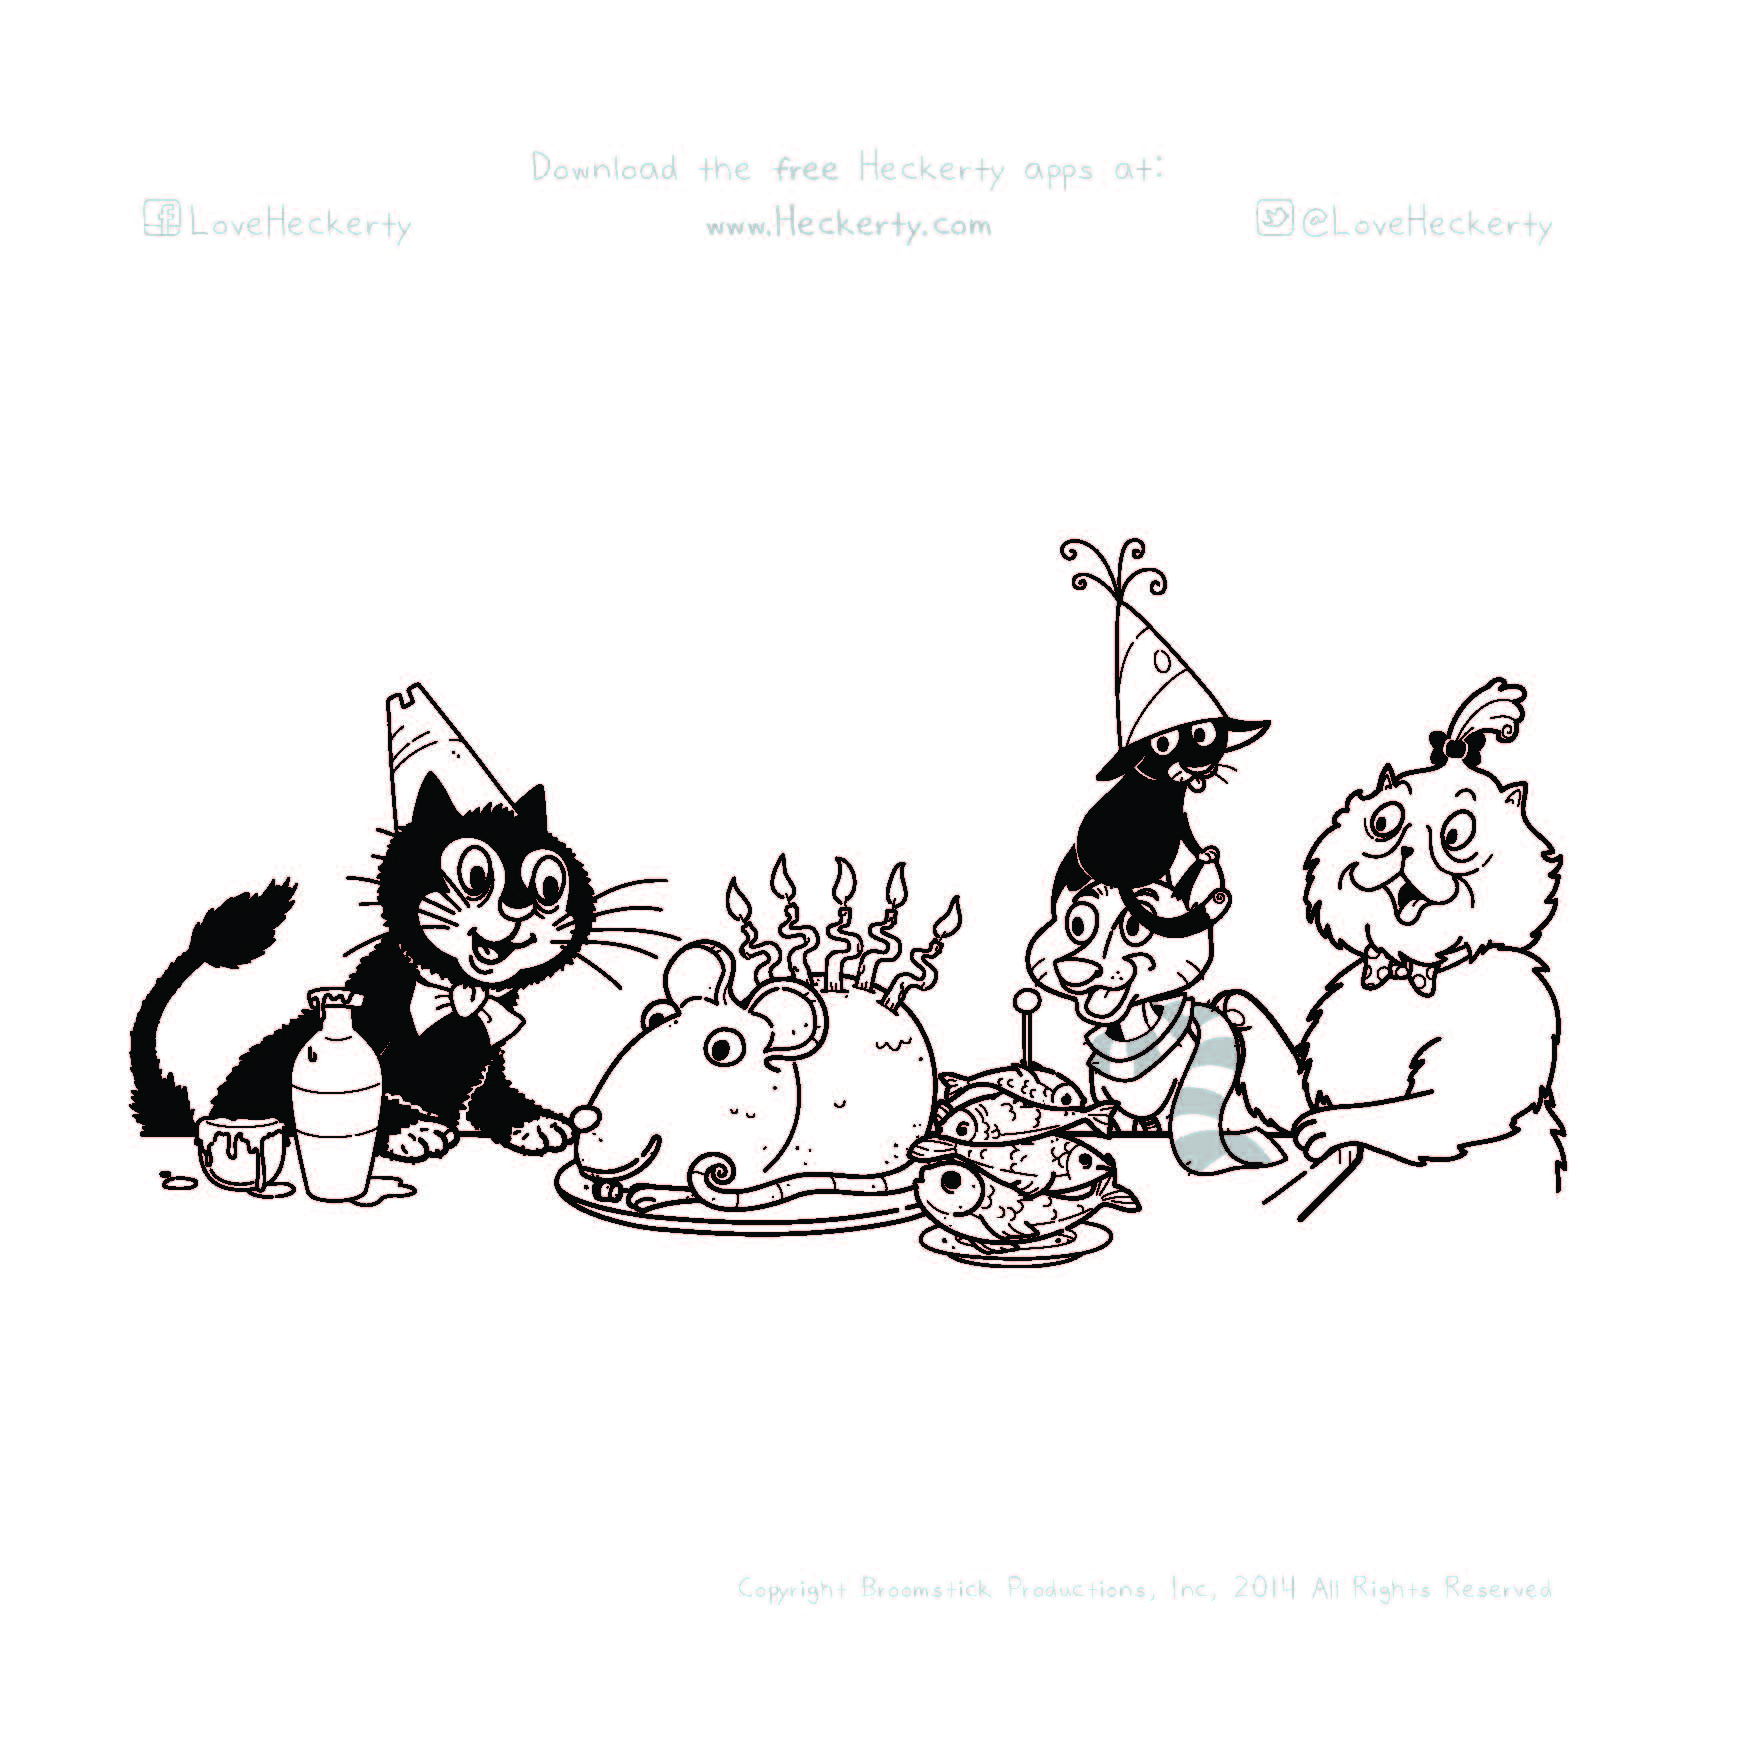
Coloring Pages – Zanzibar’s Birthday Party

Heckerty’s Valentine – Shall we ring or knock?

Heckerty’s Valentine – Heckerty and Zanzibar

Zanzibar’s Birthday
Tomorrow – one of the coolest Hacks we have – we make a Halloween Ornament Witch!
Rubber Band Jewelry in Orange and Black
What you need:
Loom or substitute with an adapted plastic fork
Orange rubber bands
Black rubber bands
If you have a rainbow loom, you can make the bracelet with it.
If you don’t have one – here is a quick and easy way to make one!
You need a plastic fork.
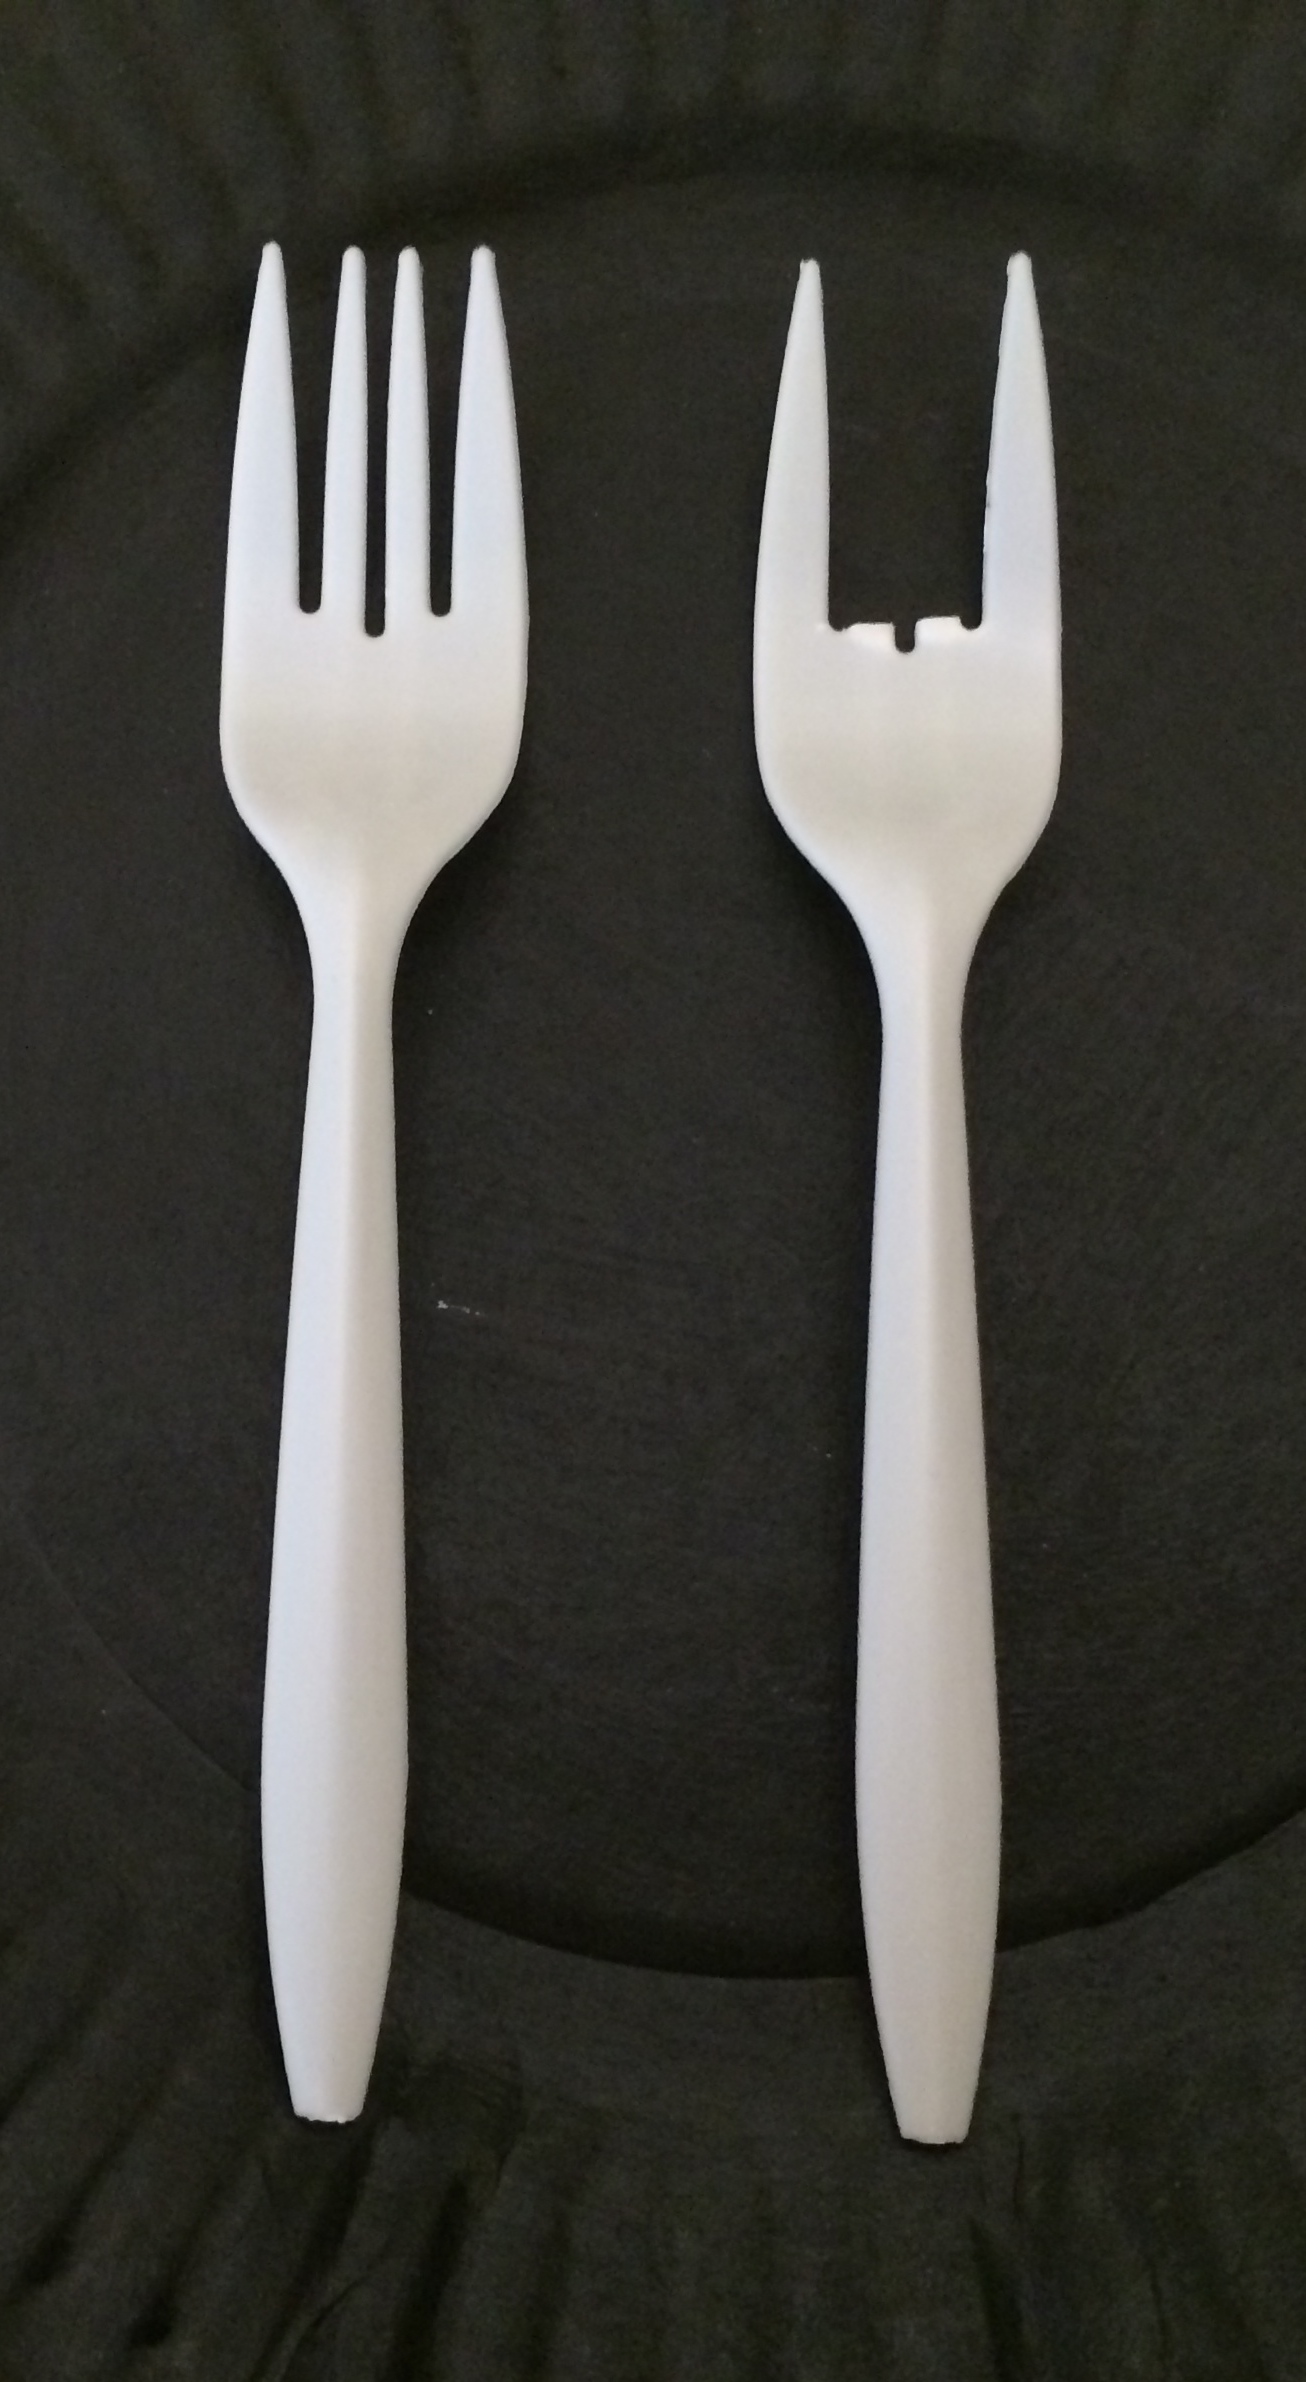
Rubber Band Jewelry from a simple plastic fork
Remove the middle two tines
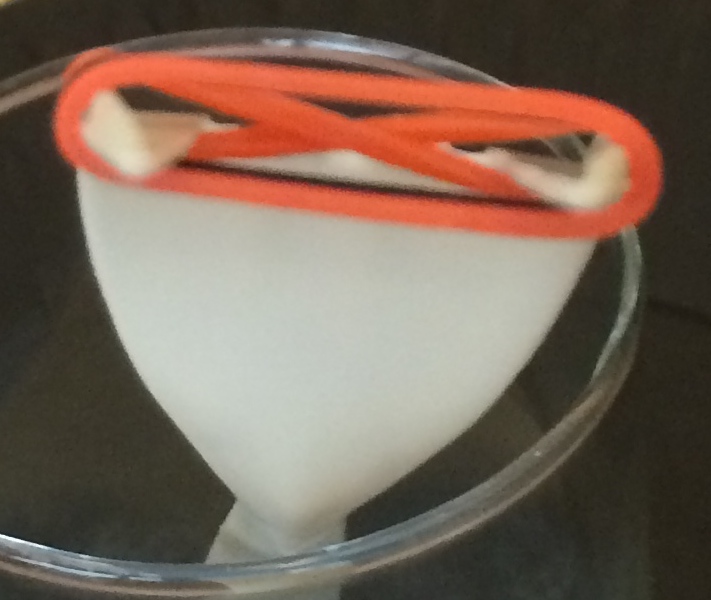
Rubber band jewelry – make a figure 8 with the first band and then add two more bands without twists.
Take the first rubber band and make a figure 8 putting one of the circles of the twisted rubber band over one tine and the other one over the second tine. Add two more rubber bands – bring one side of the bottom rubber band over the top of the tine – and do the same on the other side. Add another rubber band. Again – pull the bottom rubber band – one side at a time over the tines – add another rubber band. Continue until there’s enough to make a bracelet.
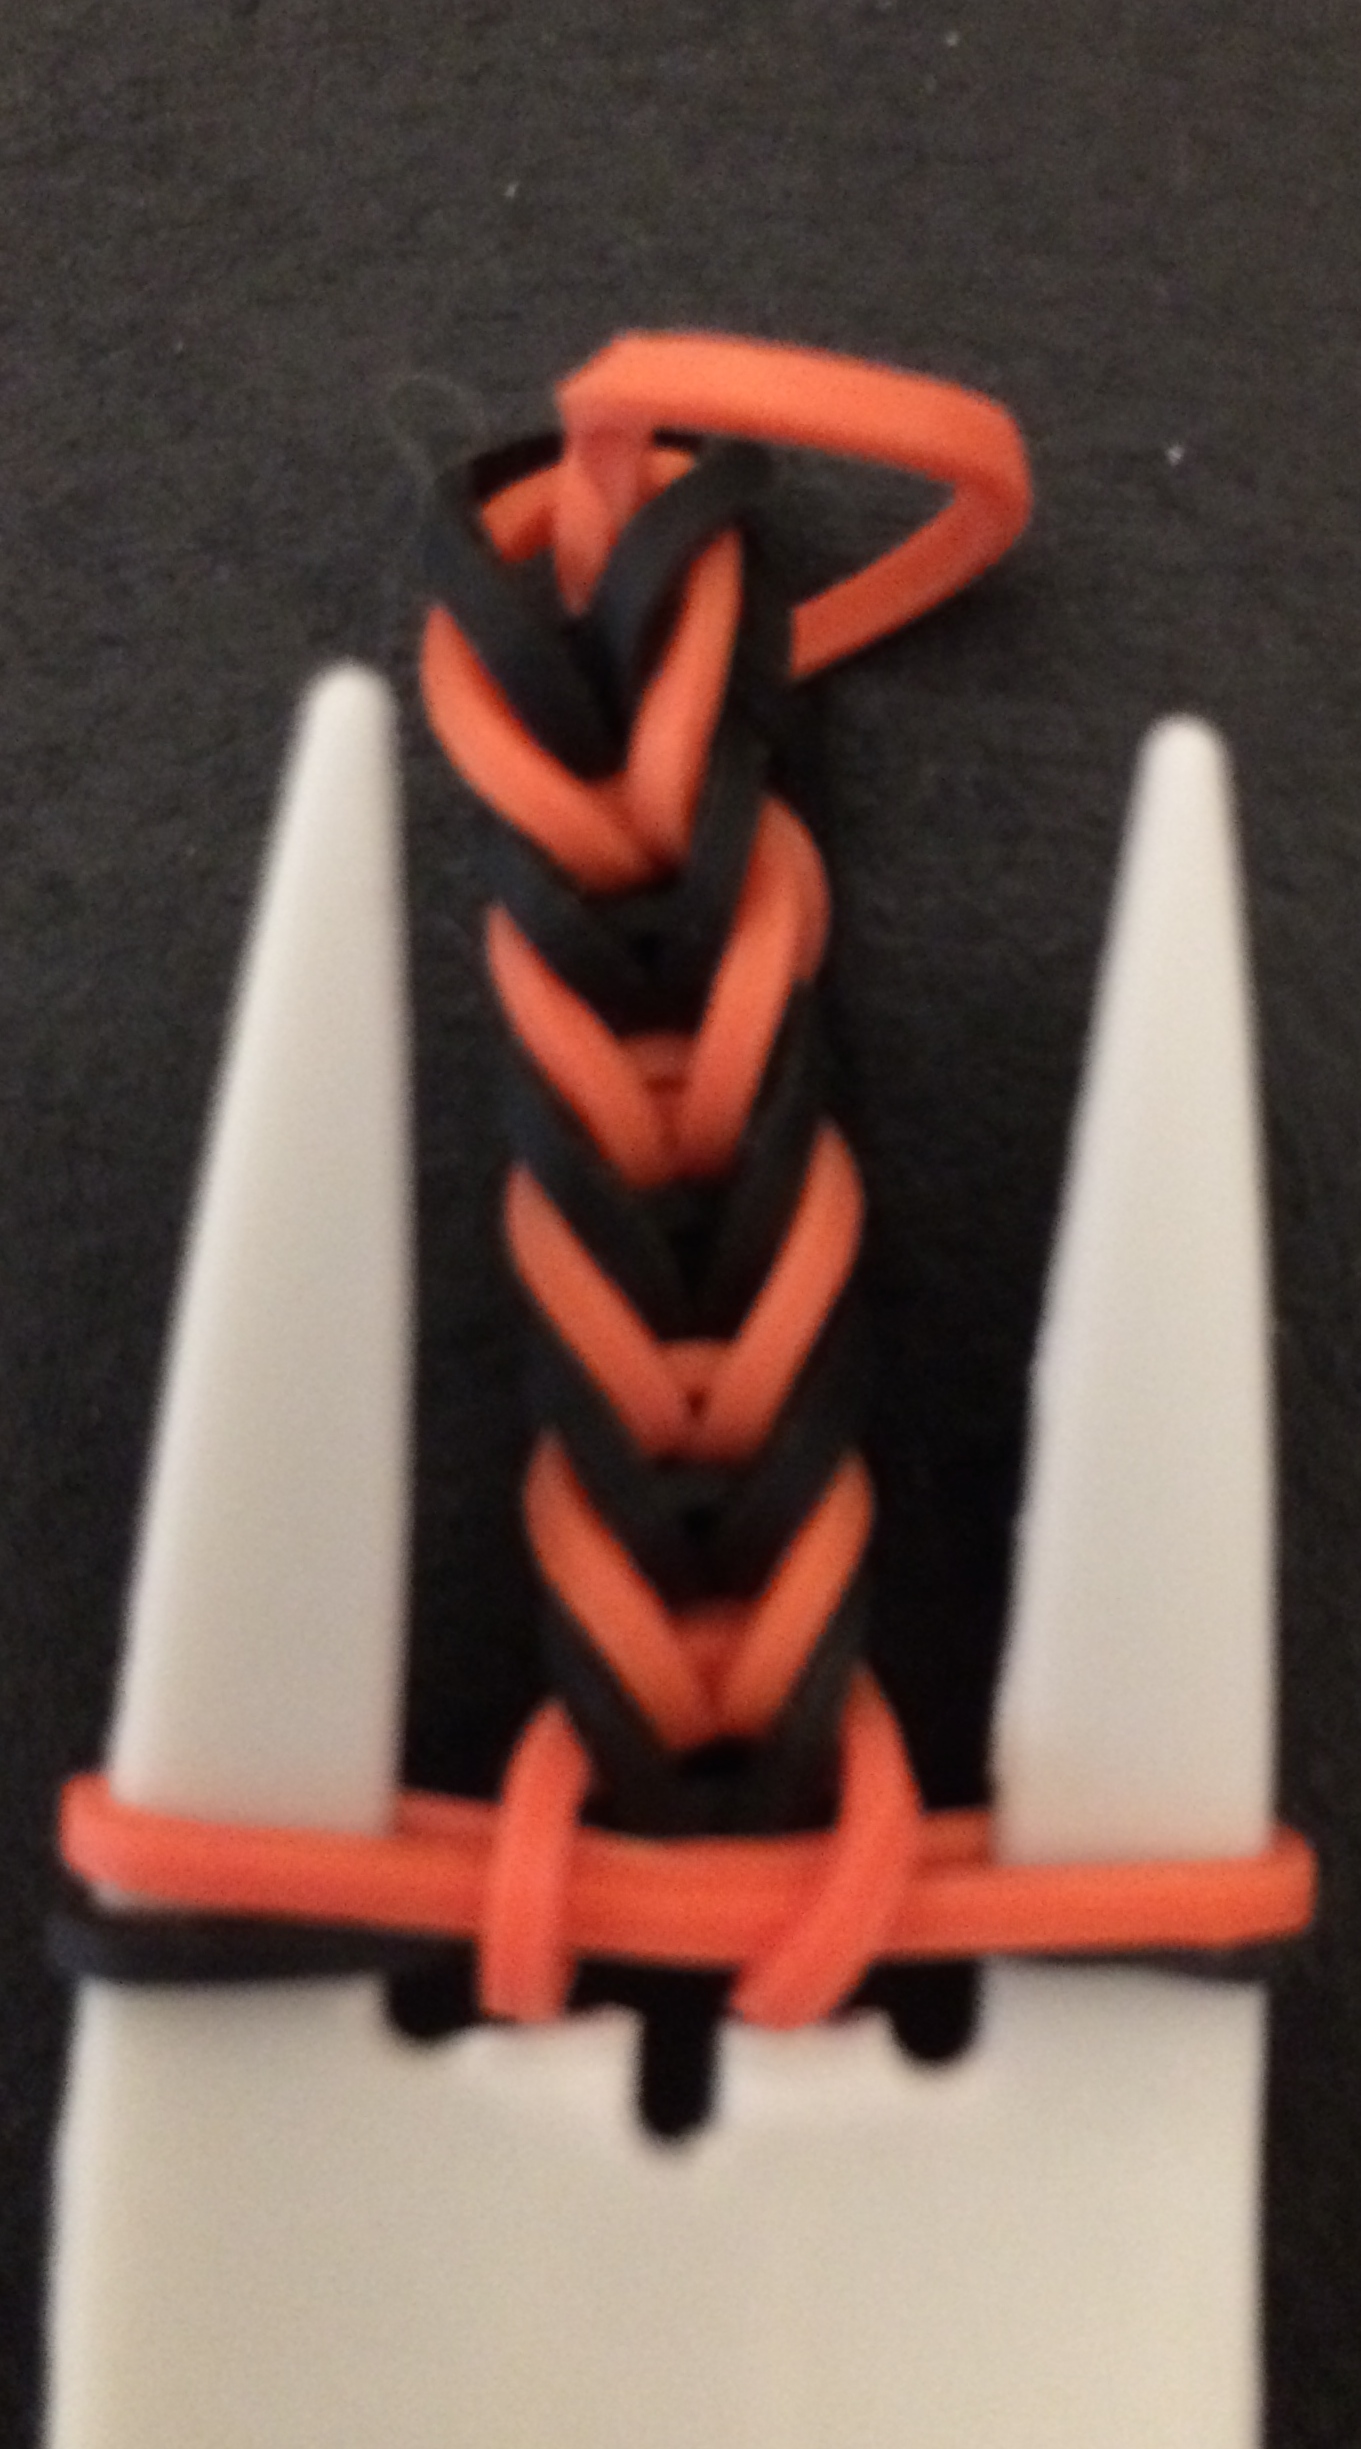
Rubber Band Jewelry – lift both sides of the bottom band into the middle, and add another band.
Use one of the c clips that came with the rubber bands to join the two ends together.
Other great Halloween combinations are orange and green,
orange and purple, and purple and black.

Rubber Band Jewelry in orange and green
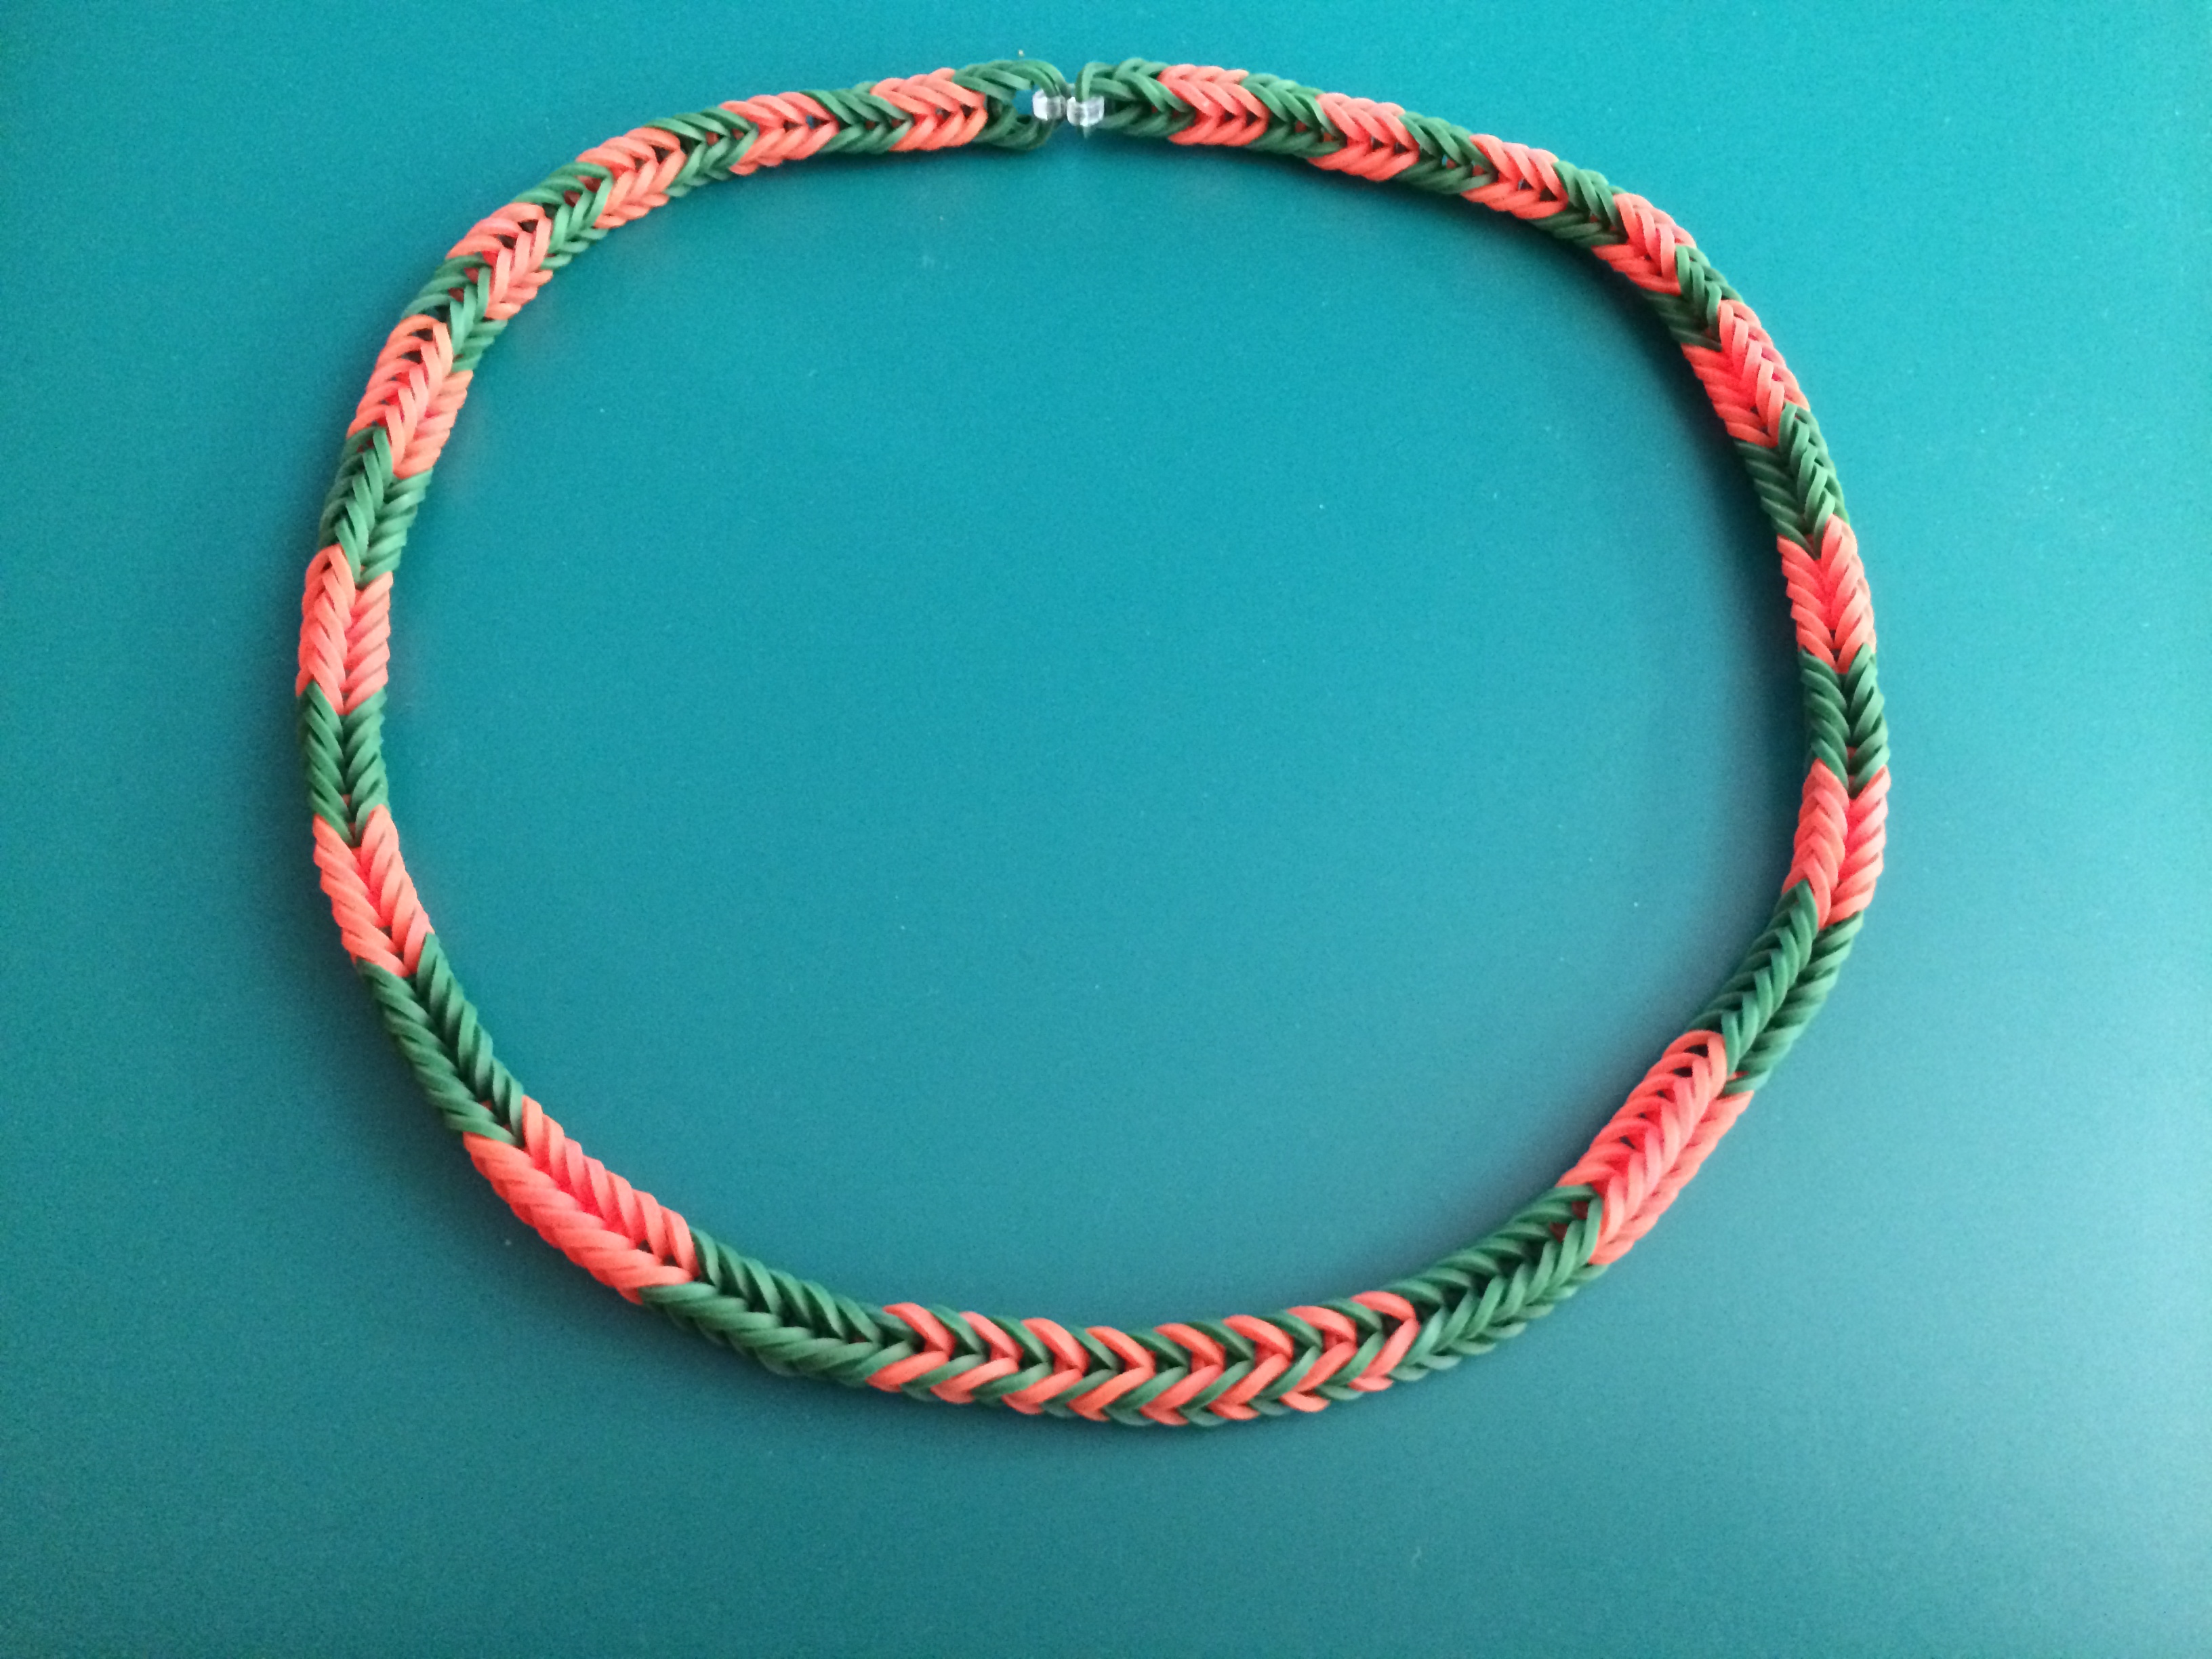
Rubber Band Jewelry- make a necklace too
Tomorrow – download coloring pages!
Paint a spooky house!
What you need to paint a spooky house:
Wooden bird house to paint from craft shop
Painter’s tape
Black paint
Purple paint
Orange paint
Wooden slim coffee stirrers from Starbucks/Einstein’s etc
Foam Halloween stickers
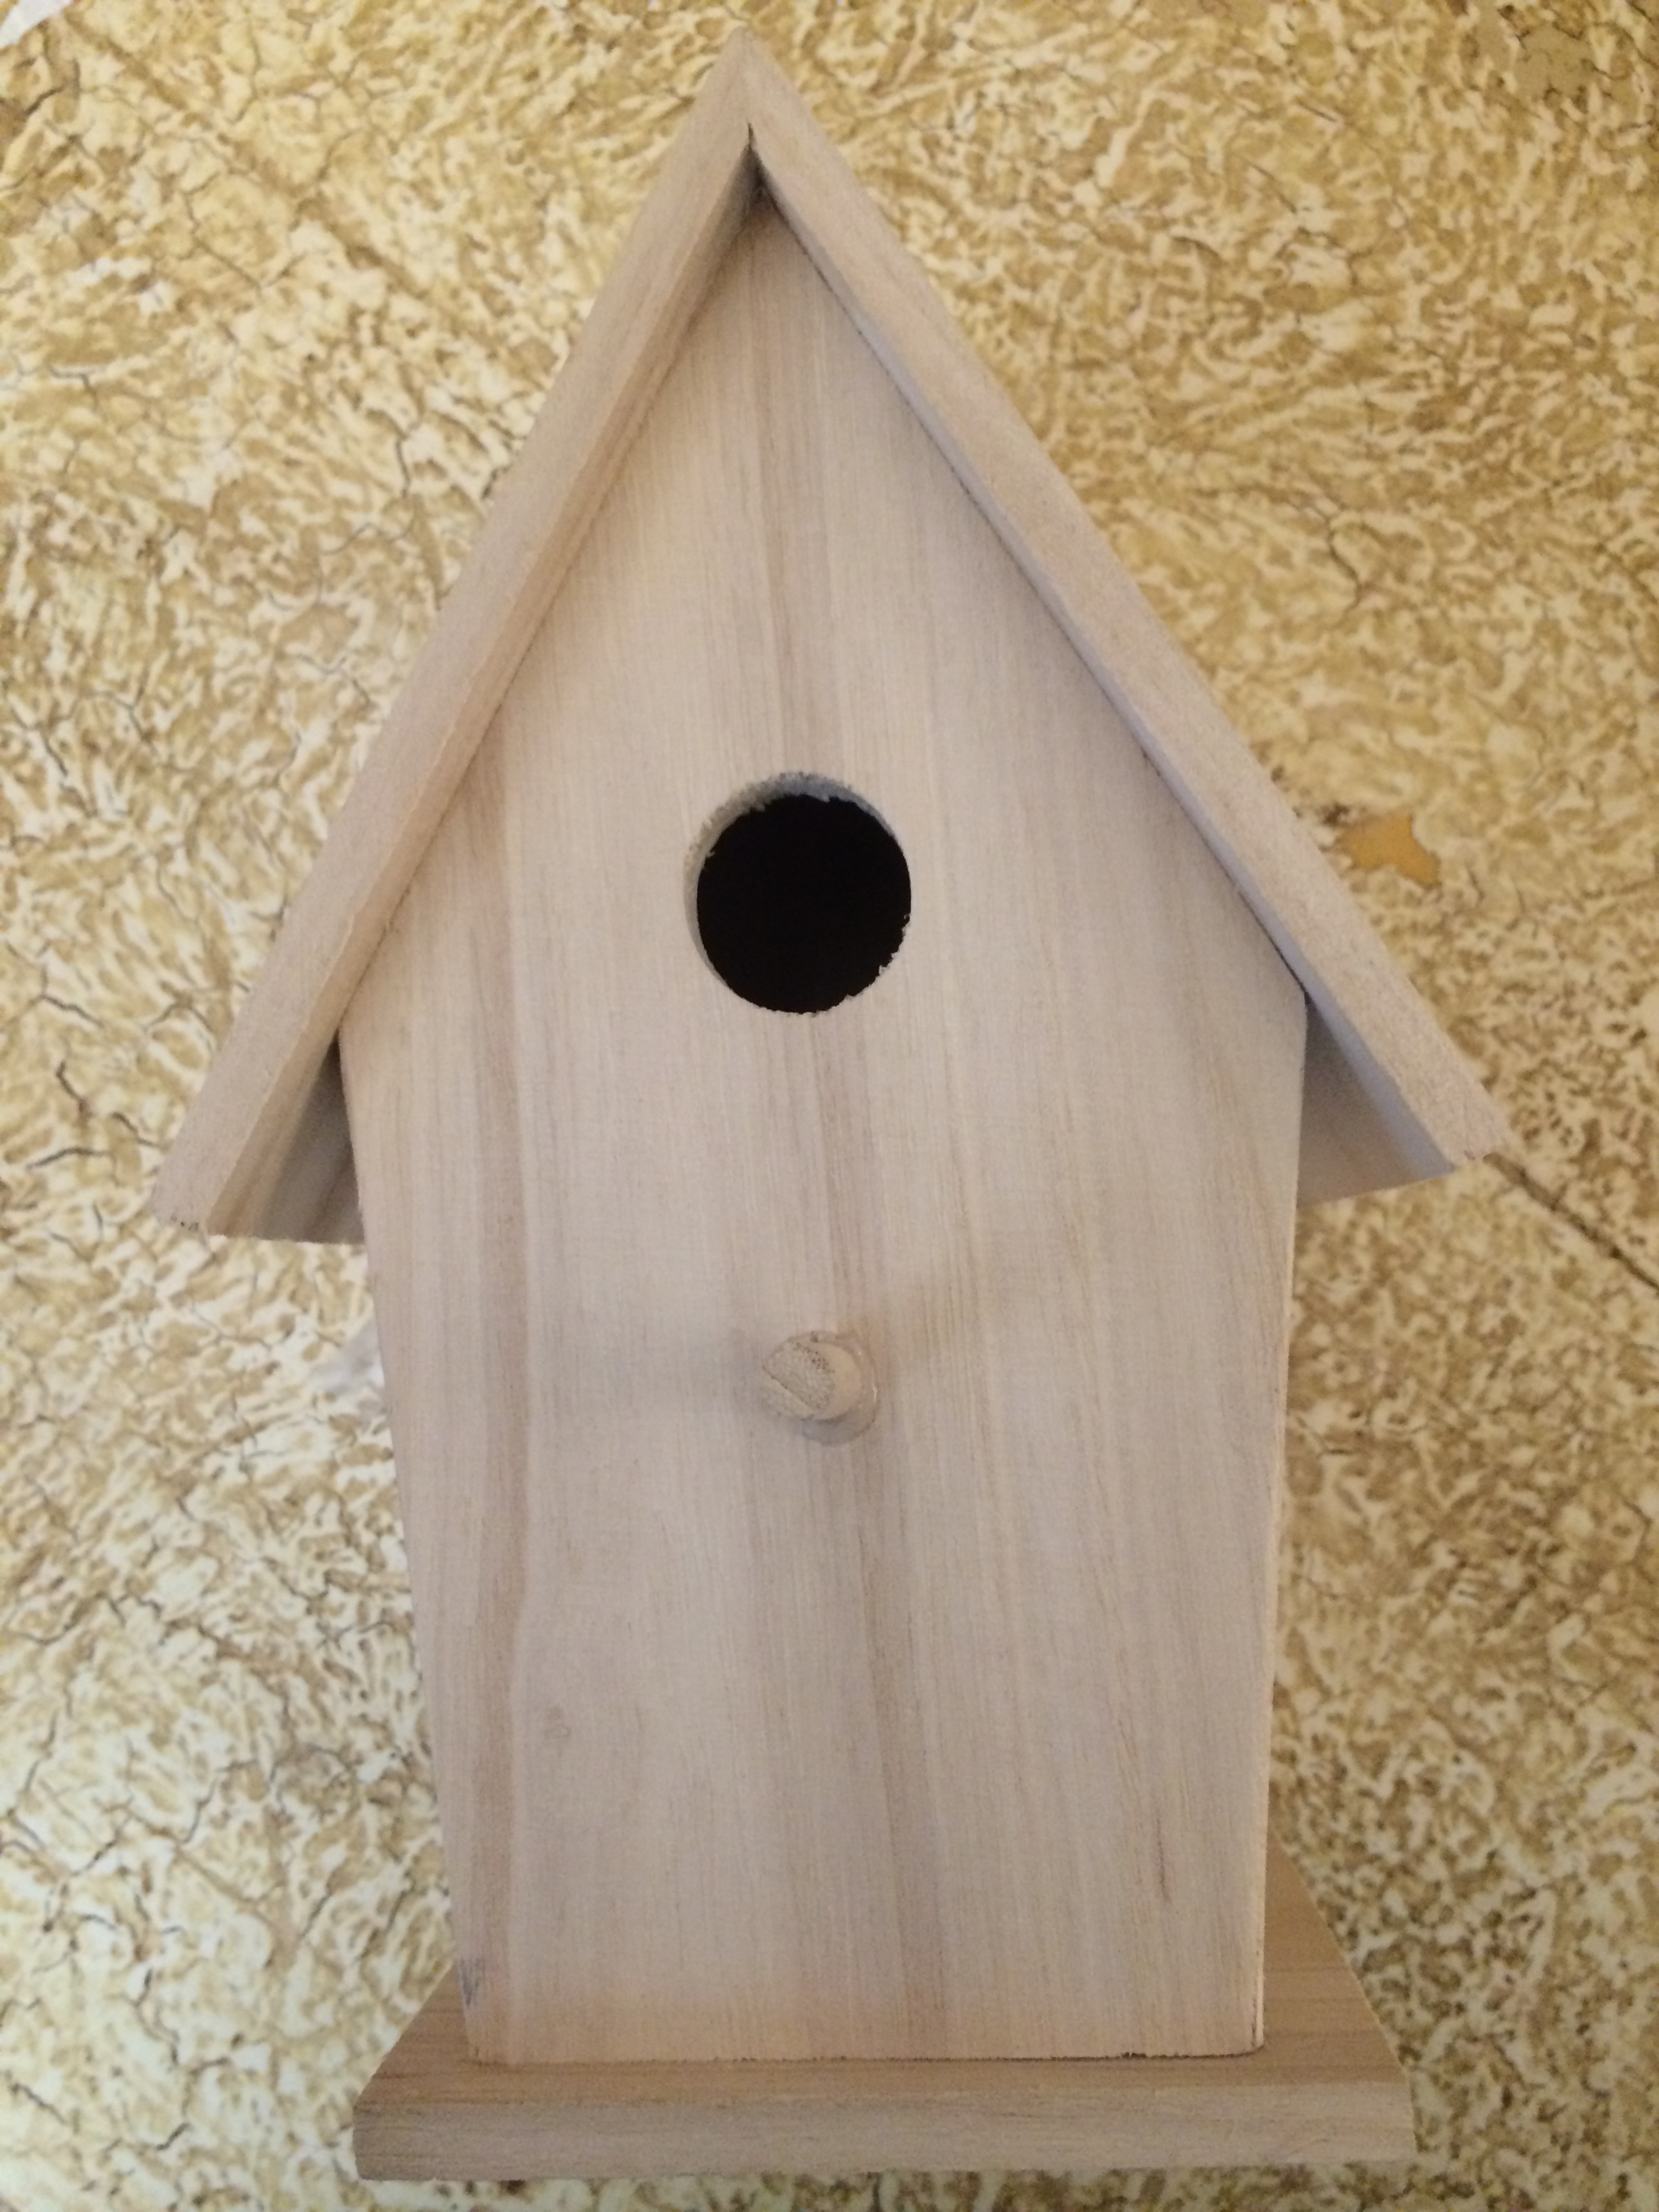
Buy a plain birdhouse to paint a spooky house
Remove the little perch from the house.
We cut ours off and sanded the area so that the paint would go on flat.
Paint the roof of the house black being careful to paint along the sides of the roof too.
When the roof is dry, apply painter’s tape on the edges to stop the purple paint landing
in the wrong place.
Paint the walls of the house purple.
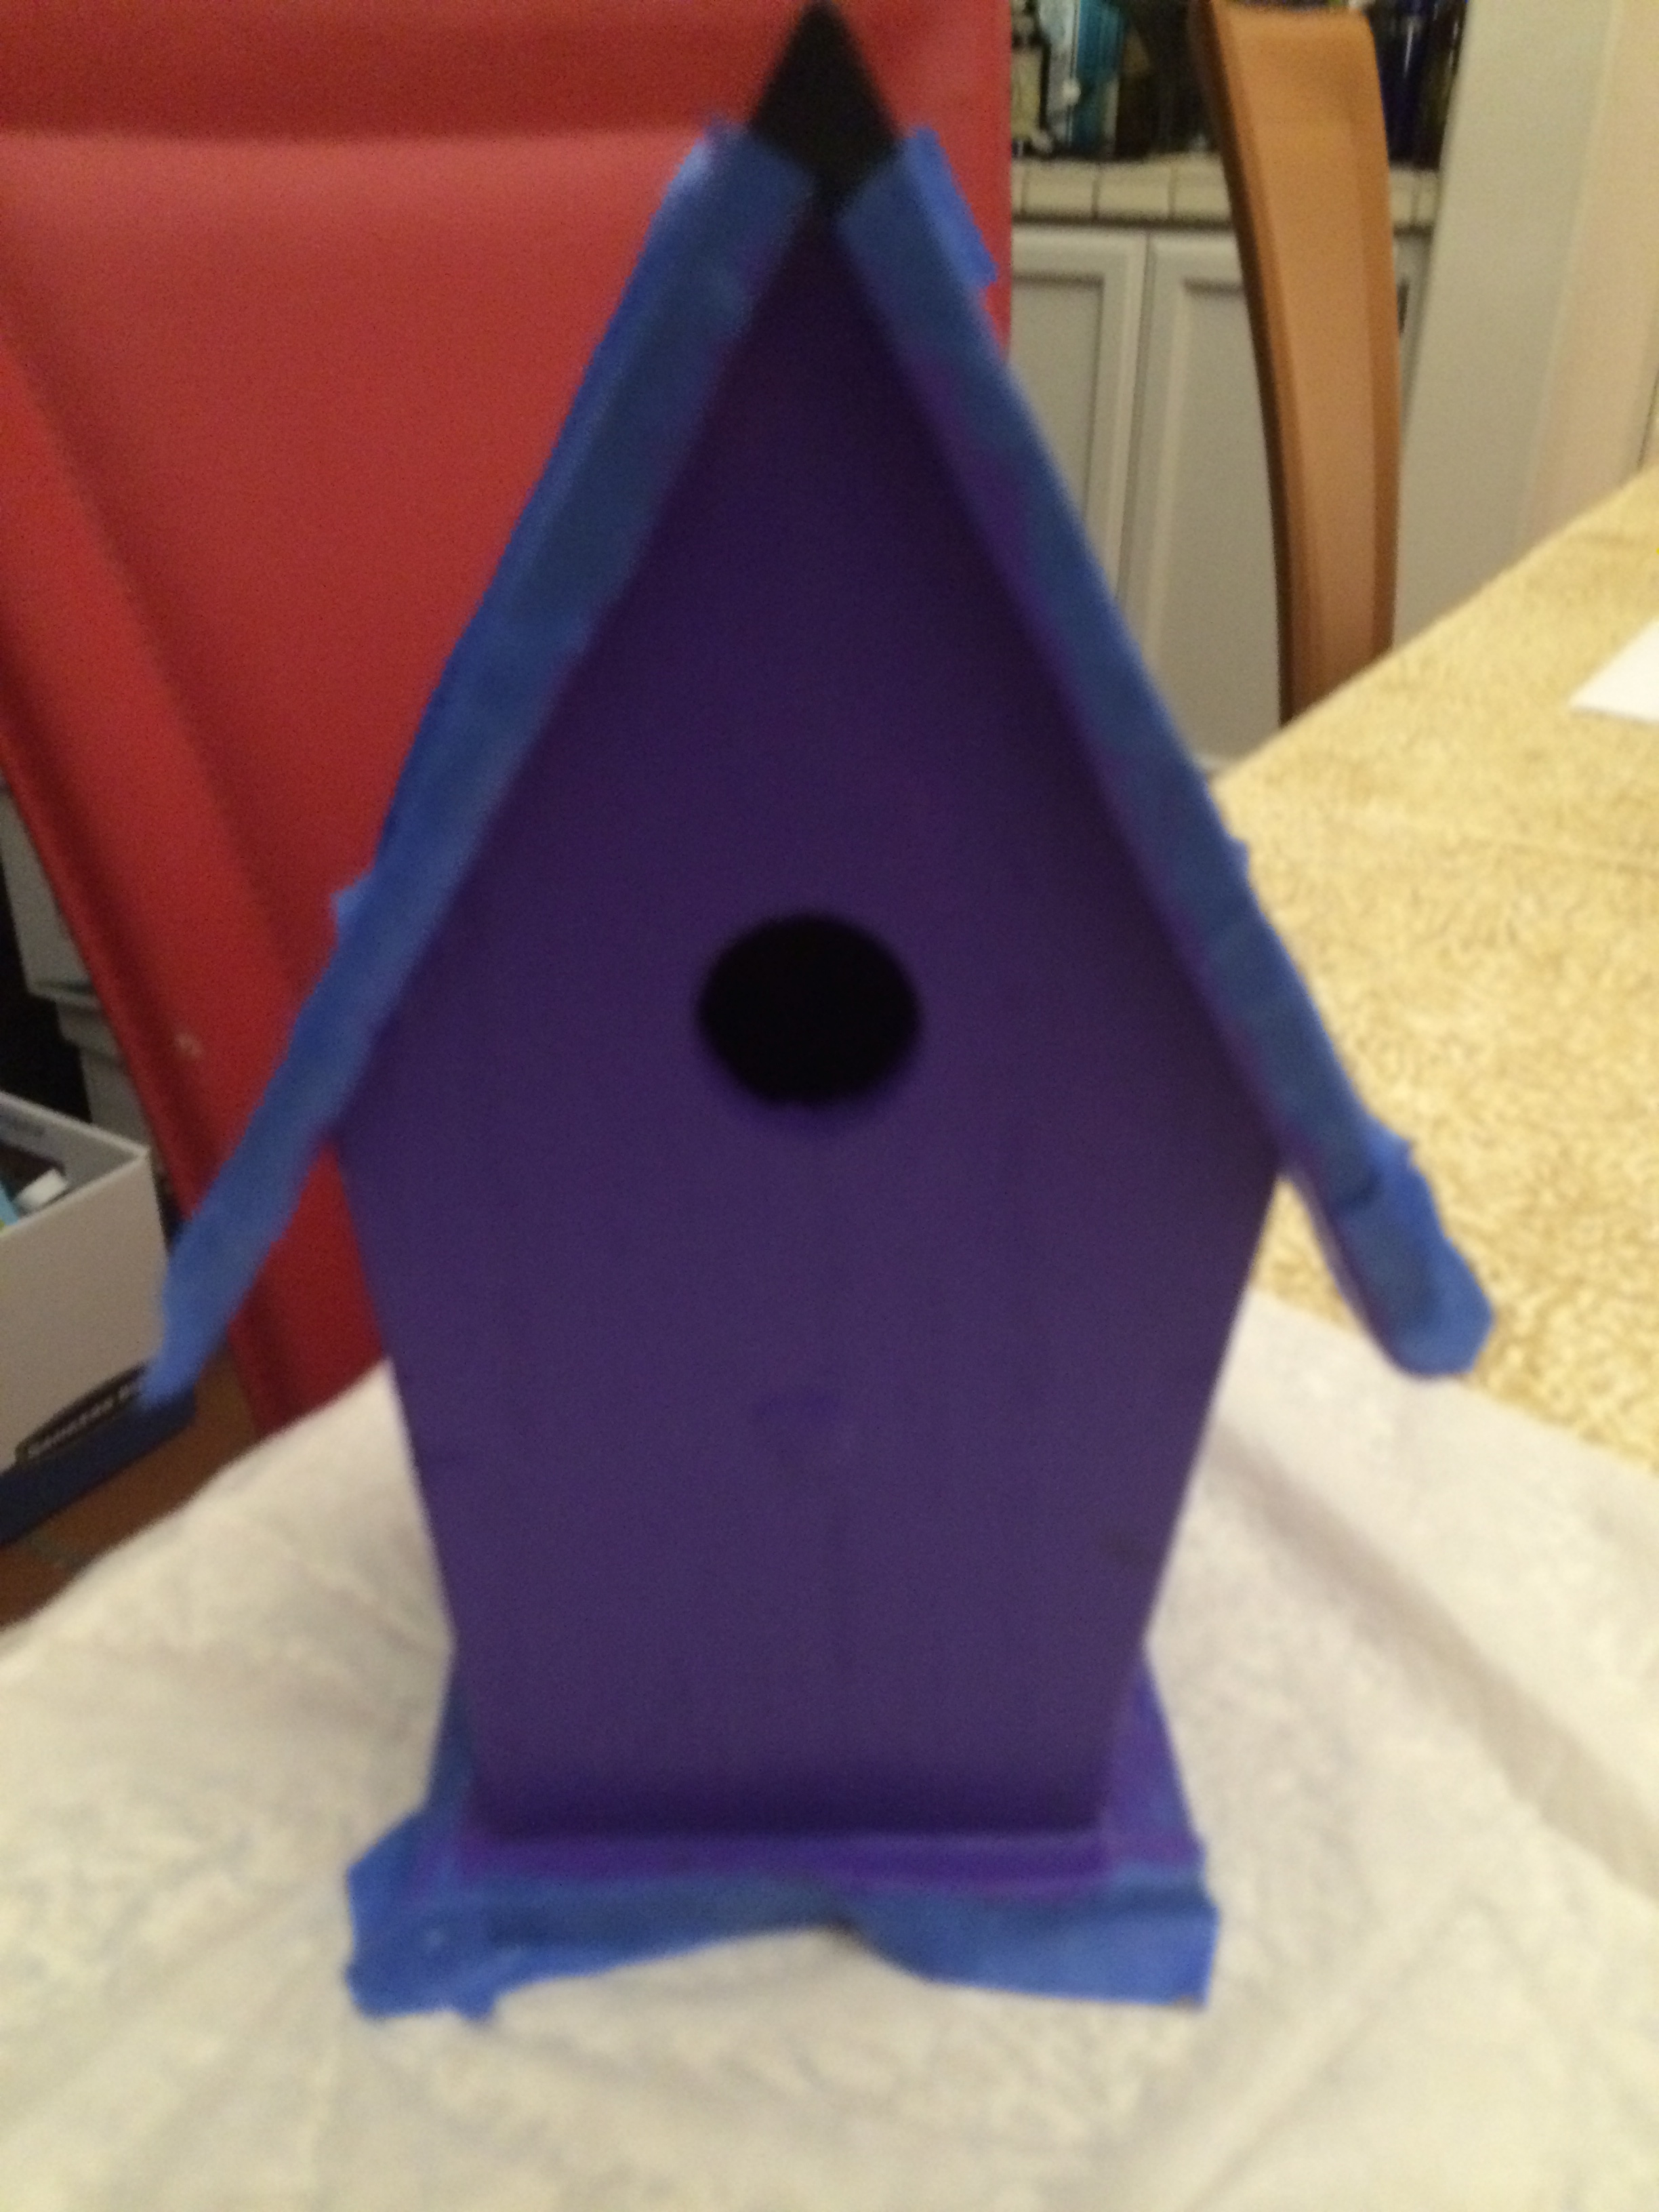
First paint the roof black and then the walls purple when you Paint a Spooky House
Paint a black door on to the front.
Carefully paint the wooden stirring sticks a muddy brown.
Break them unevenly into pieces.
Make a fence around the house using broken wooden stirring sticks.
When the paint is all dry – remove the painter’s tape.
Decorate the house with lots of Halloween foam stickers.

Your spooky house – painted
And next — Rubber Band Loom Jewelry – in Halloween Colors!